How to perform Speaker Diarization in Python
Learn how to use Python to perform speaker diarization on audio and video files to identify "who said what when"


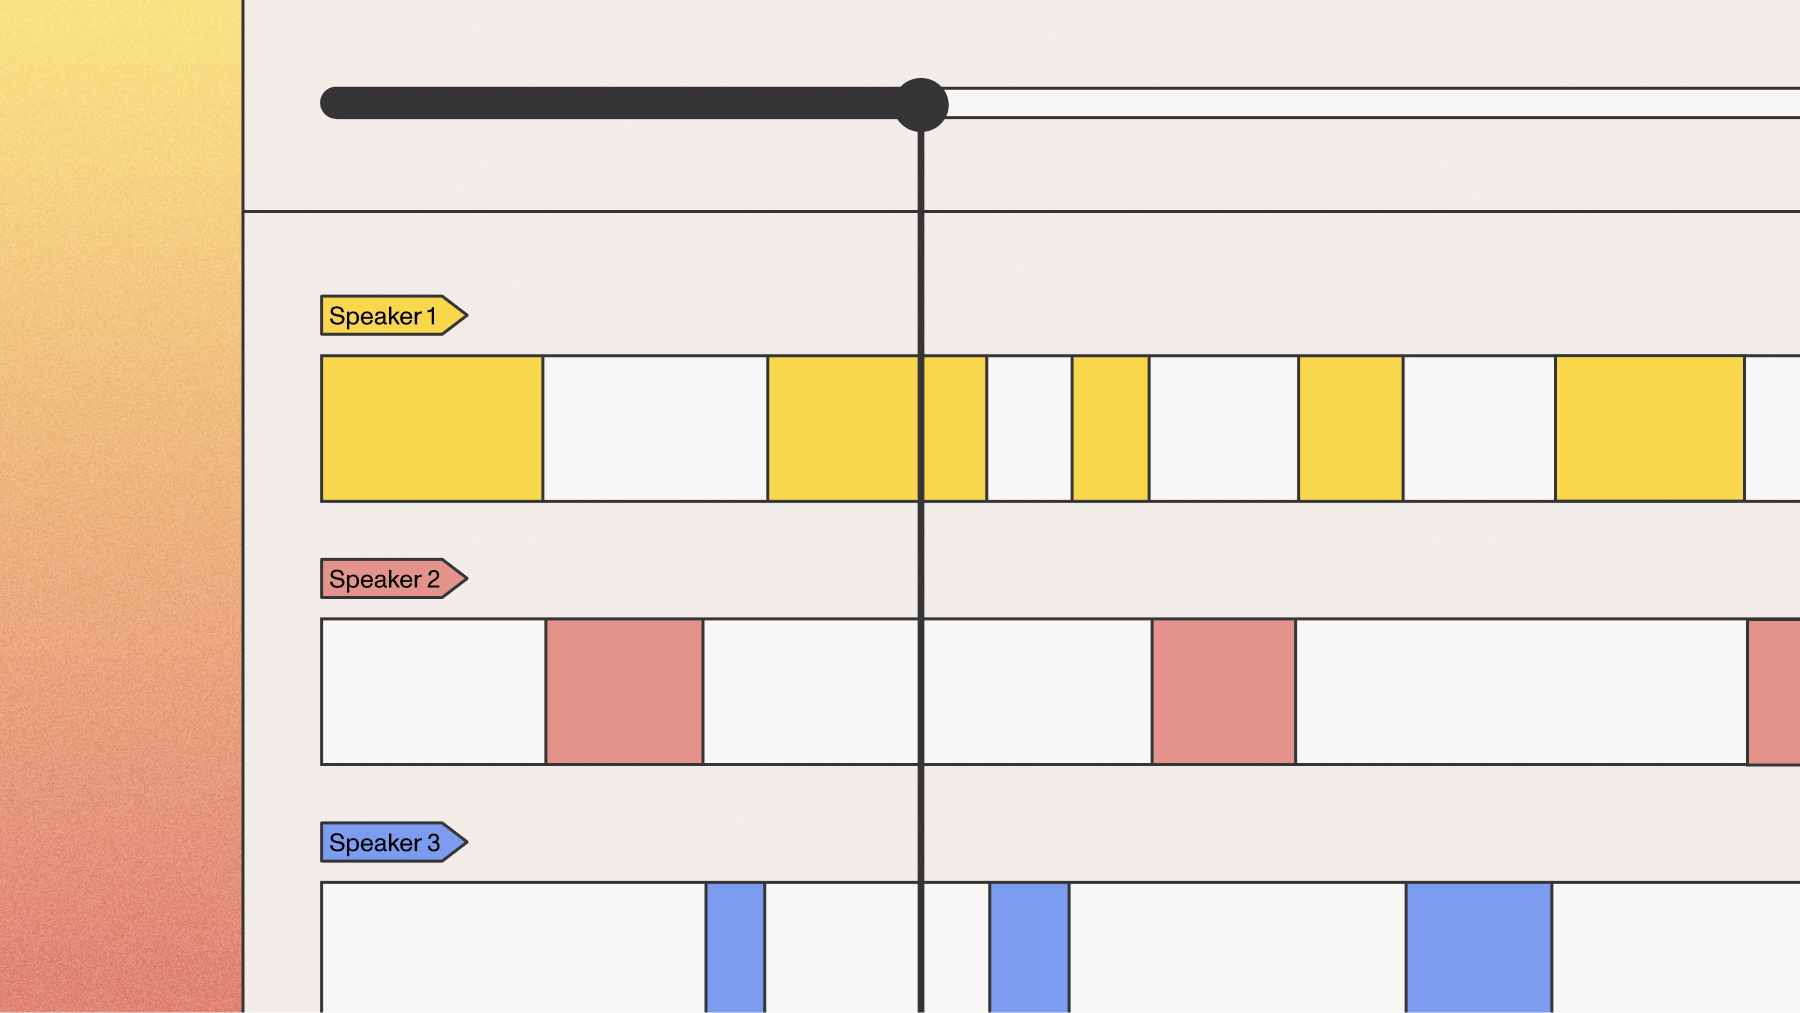
Understanding who is speaking when in a given audio recording is critical in extracting useful information from audio recordings and providing valuable end-user experiences. Speaker diarization is a technique used to obtain this information. It works by partitioning an audio file into homogeneous segments, or "utterances", according to speaker identity.
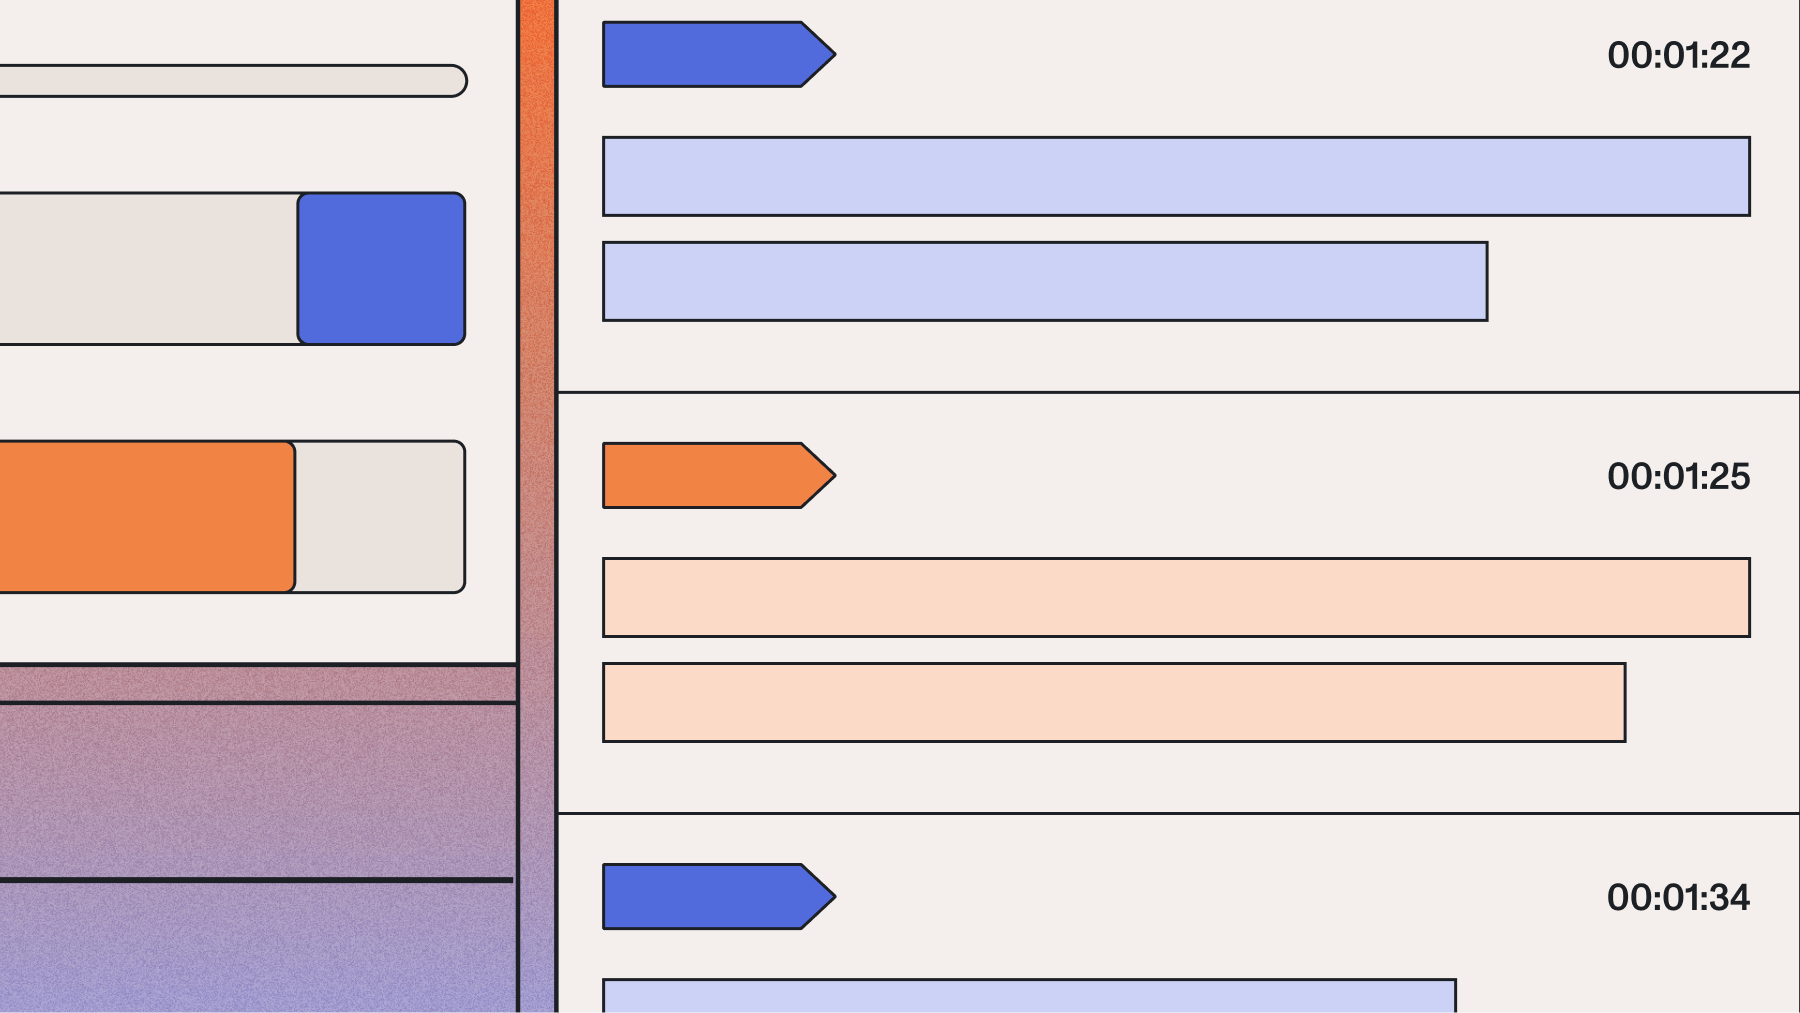
In this tutorial, we’ll learn how to use Python to perform speaker diarization on audio and video files in just a few lines of code. Here is the audio file we will be running speaker diarization on, along with part of the diarized output, where each utterance is labeled with the corresponding speaker:
Custom Home Builder
Speaker B: Yeah, hi. I'm calling to speak to someone about building a house and a property I'm looking to purchase.
Speaker A: Oh, okay, great. Let me get your name. What's your first name, please?
Speaker B: Kenny.
...
Step 1: Set up your environment
To follow along with this tutorial, you’ll need to have Python installed and an AssemblyAI API key - you can get one for free here:
Once you've copied your API key, set it as an environment variable:
# Mac/Linux
export ASSEMBLYAI_API_KEY=<YOUR_KEY>

# Windows
set ASSEMBLYAI_API_KEY=<YOUR_KEY>
Finally, you'll need to make sure the AssemblyAI Python SDK is installed, which allows us to interact with AssemblyAI's API more easily. Install the SDK with pip in your terminal:
pip install assemblyai
Step 2: Transcribe the file with speaker diarization
Now that your environment is set up, the next step is to transcribe your audio file with speaker diarization enabled.
First, create a file called main.py and import the assemblyai package. Then, specify the location of the audio file you would like to use. This location can be either a local file path or a publicly-accessible download URL. Add the following lines to main.py, optionally changing the audio_file to a file of your choice:
import assemblyai as aai# Or a remote URL
audio_file = "https://storage.googleapis.com/aai-web-samples/Custom-Home-Builder.mp3"
Before we transcribe the audio file, we need to specify the configuration for the transcription. Create an aai.TranscriptionConfig object and enable speaker labels (another term for speaker diarization) via speaker_labels=True. This setting instructs AssemblyAI to perform speaker diarization during the transcription. Add the following line to main.py:
config = aai.TranscriptionConfig(
    speaker_labels=True,
)
Next, pass this configuration into an aai.Transcriber object. By passing this configuration into the constructor, the configuration will apply to all transcripts the transcriber creates.
Finally, to perform the transcription, we use the transcriber's transcribe method, passing in the audio file we wish to transcribe. Add the following lines to main.py:
transcriber = aai.Transcriber(config=config)
transcript = transcriber.transcribe(audio_file)
The resulting transcript is an aai.Transcript object which contains, among other information, the speaker labels for each segment of the audio.
Step 3: Print the results
After transcribing the audio file and analyzing it for speaker diarization, we can print the results to see who is speaking when. You can then include some logic in your application to handle the speaker information according to your needs.
All of the speaker diarization information for the transcript is found in the transcript.utterances attribute. Below we iterate through each element in this list and print off the speaker label and the corresponding text for each segment in the file. Add the following lines to main.py:
for utterance in transcript.utterances:
print(f"Speaker {utterance.speaker}: {utterance.text}")
Here is an example of the output when you run the script with python main.py:
Speaker A: Call is now being recorded. Good afternoon. Elkins builders.
Speaker B: Yeah, hi. I'm calling to speak to someone about building a house and a property I'm looking to purchase.
Speaker A: Oh, okay, great. Let me get your name. What's your first name, please?
Speaker B: Kenny.
Speaker A: And your last name?
Speaker B: Lindstrom. It's l I n d s t r O M. Thank you.
Speaker A: And may I have your callback number?
Speaker B: It's 610-265-1715.
Speaker A: That'S 610-265-1715.
Speaker B: Yes.
Speaker A: And where is the property that you're looking for an estimate on?
Speaker B: It's in Westchester. I haven't purchased the land yet. I'd like to see if I could get an estimate or have them take a look at it before I do.
Speaker A: Okay, no problem. Is there a good time to reach you at this number or is that in any time?
Speaker B: That's my cell phone. If they could call me back today, that would be great.
Speaker A: Okay, no problem. I'll pass your message along. And somebody should be getting back to you this afternoon.
Speaker B: Great. Thank you so much.
Speaker A: You're welcome. And thank you for calling Elkins Builders.
Speaker B: Bye bye.
Run python main.py in your terminal to see this output printed to the console.
The transcript.utterances object contains additional information about utterances, like their starting and stop times. You can therefore print out timestamped and diarized transcripts with a small change to the script:
import datetime# ...for utterance in transcript.utterances:
start_time = str(datetime.timedelta(milliseconds=utterance.start)).split(".")[0]
print(f"{(start_time)} Speaker {utterance.speaker}: {utterance.text}")
Which will yield a transcript of the following form:
0:00:00 Speaker A: Call is now being recorded. Good afternoon. Elkins builders.
0:00:05 Speaker B: Yeah, hi. I'm calling to speak to someone about building a house and a property I'm looking to purchase.
0:00:10 Speaker A: Oh, okay, great. Let me get your name. What's your first name, please?
# ...
Check out our API reference to learn more about the other types of information our API can return, like Content Moderation results or PII Redaction results.
Speaker diarization vs speaker recognition
Speaker diarization and speaker recognition are two related but distinct concepts in audio analysis.
Speaker diarization refers to partitioning an audio file into segments according to unique speakers. In other words, speaker diarization is used to group utterances in an audio file by speaker.
On the other hand, speaker recognition is used to map vocal patterns to personal identities. Speaker recognition analyzes the vocal patterns in an audio waveform verifies or associates it to a personal identity.
An important distinction between speaker diarization and recognition is this pre-existing set of speakers - diarization works without prior knowledge, and identification necessarily requires a set of known speakers and a training period to learn their voices.
You can learn more about the relationship between these concepts in our full article.
Final words
In this tutorial, you learned how to perform speaker diarization on an audio file using AI. Diarization provides you with valuable insights into who is speaking and when, allowing you enhance user experience and improve data analysis pipelines.
If you want to learn more about how to analyze audio and video files with AI, check out more of our blog, like this article on filtering profanity from audio files with Python. Alternatively, feel free to check out our YouTube channel for educational videos on AI and AI-adjacent projects, like this video on how to automatically extract phone call insights using LLMs and Python:
Lorem ipsum dolor sit amet, consectetur adipiscing elit, sed do eiusmod tempor incididunt ut labore et dolore magna aliqua. Ut enim ad minim veniam, quis nostrud exercitation ullamco laboris nisi ut aliquip ex ea commodo consequat. Duis aute irure dolor in reprehenderit in voluptate velit esse cillum dolore eu fugiat nulla pariatur.

%20influence%20automatic%20speaker%20labeling_.png)


.webp)
