Insights & Use Cases
February 5, 2026
How to use AssemblyAI with Java
Learn how to use AssemblyAI's Speech AI models directly with Java using the built-in HttpClient. Transcribe audio, analyze audio using audio intelligence models, and apply LLMs to your audio data using LLM Gateway.
Reviewed by
No items found.

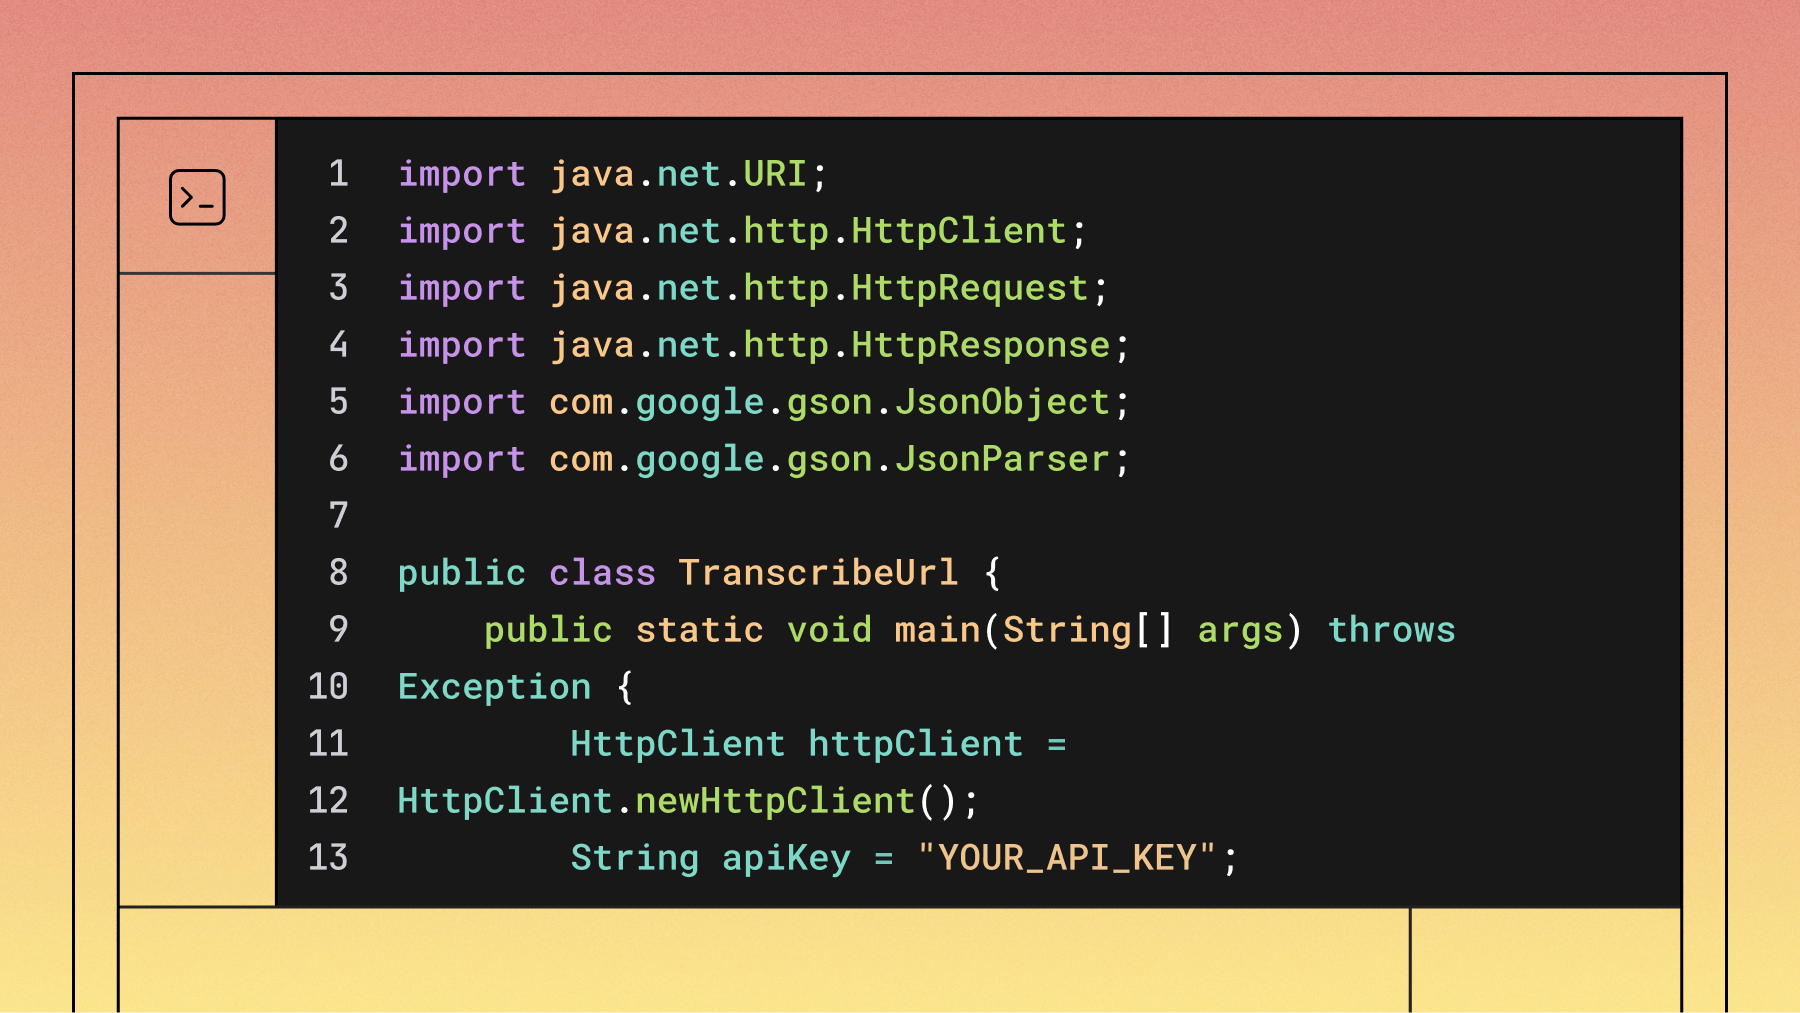

Table of contents
1. Transcribe an audio file
import java.net.URI;
import java.net.http.HttpClient;
import java.net.http.HttpRequest;
import java.net.http.HttpResponse;
import com.google.gson.JsonObject;
import com.google.gson.JsonParser;

public class TranscribeUrl {
    public static void main(String[] args) throws Exception {
        HttpClient httpClient = HttpClient.newHttpClient();
        String apiKey = "YOUR_API_KEY";

        // Submit transcription request
        String requestBody = """
            {
                "audio_url": "https://storage.googleapis.com/aai-docs-samples/nbc.mp3",
                "speech_models": ["universal-3-pro", "universal-2"],
                "language_detection": true
            }
            """;

        HttpRequest request = HttpRequest.newBuilder()
            .uri(URI.create("https://api.assemblyai.com/v2/transcript"))
            .header("Authorization", apiKey)
            .header("Content-Type", "application/json")
            .POST(HttpRequest.BodyPublishers.ofString(requestBody))
            .build();

        HttpResponse<String> response = httpClient.send(request, HttpResponse.BodyHandlers.ofString());
        JsonObject transcript = JsonParser.parseString(response.body()).getAsJsonObject();
        String transcriptId = transcript.get("id").getAsString();

        // Poll until completed
        while (true) {
            HttpRequest pollRequest = HttpRequest.newBuilder()
                .uri(URI.create("https://api.assemblyai.com/v2/transcript/" + transcriptId))
                .header("Authorization", apiKey)
                .GET()
                .build();

            HttpResponse<String> pollResponse = httpClient.send(pollRequest, HttpResponse.BodyHandlers.ofString());
            JsonObject result = JsonParser.parseString(pollResponse.body()).getAsJsonObject();
            String status = result.get("status").getAsString();

            if (status.equals("completed")) {
                System.out.println(result.get("text").getAsString());
                break;
            } else if (status.equals("error")) {
                System.out.println("Transcription failed: " + result.get("error").getAsString());
                break;
            }

            Thread.sleep(3000);
        }
    }
}
You can also transcribe a local file, as shown here.
import java.net.URI;
import java.net.http.HttpClient;
import java.net.http.HttpRequest;
import java.net.http.HttpResponse;
import java.nio.file.Files;
import java.nio.file.Path;
import com.google.gson.JsonObject;
import com.google.gson.JsonParser;

public class TranscribeLocalFile {
    public static void main(String[] args) throws Exception {
        HttpClient httpClient = HttpClient.newHttpClient();
        String apiKey = "YOUR_API_KEY";

        // Step 1: Upload the file
        byte[] fileBytes = Files.readAllBytes(Path.of("./audio.mp3"));
        HttpRequest uploadRequest = HttpRequest.newBuilder()
            .uri(URI.create("https://api.assemblyai.com/v2/upload"))
            .header("Authorization", apiKey)
            .POST(HttpRequest.BodyPublishers.ofByteArray(fileBytes))
            .build();

        HttpResponse<String> uploadResponse = httpClient.send(uploadRequest, HttpResponse.BodyHandlers.ofString());
        JsonObject uploadResult = JsonParser.parseString(uploadResponse.body()).getAsJsonObject();
        String uploadUrl = uploadResult.get("upload_url").getAsString();

        // Step 2: Submit transcription with upload URL
        String requestBody = String.format("""
            {
                "audio_url": "%s",
                "speech_models": ["universal-3-pro", "universal-2"],
                "language_detection": true
            }
            """, uploadUrl);

        HttpRequest request = HttpRequest.newBuilder()
            .uri(URI.create("https://api.assemblyai.com/v2/transcript"))
            .header("Authorization", apiKey)
            .header("Content-Type", "application/json")
            .POST(HttpRequest.BodyPublishers.ofString(requestBody))
            .build();

        HttpResponse<String> response = httpClient.send(request, HttpResponse.BodyHandlers.ofString());
        JsonObject transcript = JsonParser.parseString(response.body()).getAsJsonObject();
        String transcriptId = transcript.get("id").getAsString();

        // Step 3: Poll until completed
        while (true) {
            HttpRequest pollRequest = HttpRequest.newBuilder()
                .uri(URI.create("https://api.assemblyai.com/v2/transcript/" + transcriptId))
                .header("Authorization", apiKey)
                .GET()
                .build();

            HttpResponse<String> pollResponse = httpClient.send(pollRequest, HttpResponse.BodyHandlers.ofString());
            JsonObject result = JsonParser.parseString(pollResponse.body()).getAsJsonObject();
            String status = result.get("status").getAsString();

            if (status.equals("completed")) {
                System.out.println(result.get("text").getAsString());
                break;
            } else if (status.equals("error")) {
                System.out.println("Transcription failed: " + result.get("error").getAsString());
                break;
            }

            Thread.sleep(3000);
        }
    }
}
2. Transcribe audio in real-time
import java.net.URI;
import java.net.http.HttpClient;
import java.net.http.WebSocket;
import java.util.Base64;
import java.util.concurrent.CompletionStage;
import com.google.gson.JsonObject;
import com.google.gson.JsonParser;

String apiKey = System.getenv("ASSEMBLYAI_API_KEY");

WebSocket ws = HttpClient.newHttpClient().newWebSocketBuilder()
    .header("Authorization", apiKey)
    .buildAsync(URI.create("wss://api.assemblyai.com/v2/realtime/ws?sample_rate=16000"),
        new WebSocket.Listener() {
            @Override
            public CompletionStage<?> onText(WebSocket webSocket, CharSequence data, boolean last) {
                JsonObject message = JsonParser.parseString(data.toString()).getAsJsonObject();
                String messageType = message.get("message_type").getAsString();

                if (messageType.equals("PartialTranscript")) {
                    System.out.println("Partial: " + message.get("text").getAsString());
                } else if (messageType.equals("FinalTranscript")) {
                    System.out.println("Final: " + message.get("text").getAsString());
                }

                webSocket.request(1);
                return null;
            }
        }).join();

// Pseudocode for getting audio from a microphone
getAudio((byte[] chunk) -> {
    String base64Audio = Base64.getEncoder().encodeToString(chunk);
    ws.sendText("{\"audio_data\": \"" + base64Audio + "\"}", true);
});

// Close connection
ws.sendText("{\"terminate_session\": true}", true);
ws.sendClose(WebSocket.NORMAL_CLOSURE, "Done");
3. Use LLM Gateway to build LLM apps on voice data
import java.net.URI;
import java.net.http.HttpClient;
import java.net.http.HttpRequest;
import java.net.http.HttpResponse;
import com.google.gson.JsonObject;
import com.google.gson.JsonParser;

HttpClient httpClient = HttpClient.newHttpClient();
String apiKey = System.getenv("ASSEMBLYAI_API_KEY");

// Use transcript text from a previous transcription
String transcriptText = "Your transcript text here...";

String requestBody = """
    {
        "model": "claude-sonnet-4-5-20250929",
        "messages": [
            {"role": "user", "content": "Provide a brief summary of the transcript.\\n\\nTranscript: %s"}
        ],
        "max_tokens": 1000
    }
    """.formatted(transcriptText);

HttpRequest request = HttpRequest.newBuilder()
    .uri(URI.create("https://llm-gateway.assemblyai.com/v1/chat/completions"))
    .header("Authorization", apiKey)
    .header("Content-Type", "application/json")
    .POST(HttpRequest.BodyPublishers.ofString(requestBody))
    .build();

HttpResponse<String> response = httpClient.send(request, HttpResponse.BodyHandlers.ofString());
JsonObject result = JsonParser.parseString(response.body()).getAsJsonObject();
String content = result.getAsJsonArray("choices")
    .get(0).getAsJsonObject()
    .getAsJsonObject("message")
    .get("content").getAsString();

System.out.println(content);
Learn how to use LLMs with audio data using LLM Gateway in our docs.
4. Use Speech Understanding models
import java.net.URI;
import java.net.http.HttpClient;
import java.net.http.HttpRequest;
import java.net.http.HttpResponse;
import com.google.gson.JsonArray;
import com.google.gson.JsonObject;
import com.google.gson.JsonParser;

HttpClient httpClient = HttpClient.newHttpClient();
String apiKey = System.getenv("ASSEMBLYAI_API_KEY");

// Submit with sentiment_analysis enabled
String requestBody = """
    {
        "audio_url": "https://storage.googleapis.com/aai-docs-samples/nbc.mp3",
        "sentiment_analysis": true
    }
    """;

HttpRequest request = HttpRequest.newBuilder()
    .uri(URI.create("https://api.assemblyai.com/v2/transcript"))
    .header("Authorization", apiKey)
    .header("Content-Type", "application/json")
    .POST(HttpRequest.BodyPublishers.ofString(requestBody))
    .build();

HttpResponse<String> response = httpClient.send(request, HttpResponse.BodyHandlers.ofString());
JsonObject transcript = JsonParser.parseString(response.body()).getAsJsonObject();
String transcriptId = transcript.get("id").getAsString();

// Poll until completed
JsonObject result;
while (true) {
    HttpRequest pollRequest = HttpRequest.newBuilder()
        .uri(URI.create("https://api.assemblyai.com/v2/transcript/" + transcriptId))
        .header("Authorization", apiKey)
        .GET()
        .build();

    HttpResponse<String> pollResponse = httpClient.send(pollRequest, HttpResponse.BodyHandlers.ofString());
    result = JsonParser.parseString(pollResponse.body()).getAsJsonObject();
    String status = result.get("status").getAsString();

    if (status.equals("completed")) break;
    if (status.equals("error")) {
        System.out.println("Failed");
        return;
    }

    Thread.sleep(3000);
}

// Print sentiment results
JsonArray sentimentResults = result.getAsJsonArray("sentiment_analysis_results");
for (int i = 0; i < sentimentResults.size(); i++) {
    JsonObject item = sentimentResults.get(i).getAsJsonObject();
    System.out.println("Text: " + item.get("text").getAsString());
    System.out.println("Sentiment: " + item.get("sentiment").getAsString()); // POSITIVE, NEUTRAL, or NEGATIVE
    System.out.println("Confidence: " + item.get("confidence").getAsDouble());
    System.out.printf("Timestamp: %d - %d%n", item.get("start").getAsInt(), item.get("end").getAsInt());
}
Learn more about our Speech Understanding models in our docs.
Title goes here
Lorem ipsum dolor sit amet, consectetur adipiscing elit, sed do eiusmod tempor incididunt ut labore et dolore magna aliqua. Ut enim ad minim veniam, quis nostrud exercitation ullamco laboris nisi ut aliquip ex ea commodo consequat. Duis aute irure dolor in reprehenderit in voluptate velit esse cillum dolore eu fugiat nulla pariatur.
Related posts
No items found.