
Speech-to-Text with Django
Learn how to integrate Speech-to-Text functionality into Django and build an example app.


In this article, you will learn how to integrate Speech-to-Text into Django applications.
We’ll build a Django app step-by-step that allows users to upload and submit audio files for transcription. The app displays the transcription status and shows the text when the transcription is completed. Here’s a demo of the final app we’ll build:
0:00 /0:06 1×
Final Django Speech-to-Text app we’ll build (video is sped up)
For the transcription step in this guide, we’ll use the AssemblyAI API which is free for over 100 hours of transcription and allows an easy integration through their Python SDK, but we’ll also discuss other Speech-to-Text options you can integrate into Django. Additionally, we’ll explore blocking and non-blocking ways to implement the transcription.
The complete code is also available on GitHub here.
Set up your project
First, create a new project folder, change into this directory, and create a new virtual environment:
# Mac/Linux python3 -m venv venv . venv/bin/activate # Windows python -m venv venv .\venv\Scripts\activate.bat
Next, install all required packages. We need Django, the AssemblyAI Python SDK, and python-dotenv:
pip install Django assemblyai python-dotenv
Create a Django project
Still in the root directory, create a new Django project with the following command:
django-admin startproject stt_project
Then, change into the project directory (we called it stt_project) and create a new Django app. We call it the transcriptions app:
cd stt_project python manage.py startapp transcriptions
Create a Django view with Speech-to-Text functionality
Now, we can write the view. This view will allow users to upload a file and then will return an HTML page with the corresponding transcript. Open /transcriptions/views.py and add the following code:
from django.shortcuts import render from django import forms import assemblyai as aai class UploadFileForm(forms.Form): audio_file = forms.FileField() def index(request): context = None print("Path", request.path) print("Path", request.get_host()) if request.method == 'POST': form = UploadFileForm(request.POST, request.FILES) if not form.is_valid(): context = {"error": "Provide a valid file"} return render(request, "transcriptions/index.html", context) try: # Get file file = request.FILES['audio_file'] # Transcribe with AssemblyAI. You can submit file-type objects directly transcriber = aai.Transcriber() transcript = transcriber.transcribe(file.file) # Close file file.close() # Return transcript or error if transcript.error: context = {"error": transcript.error} else: context = {"transcript": transcript.text} except Exception as e: context = {"error": str(e)} return render(request, "transcriptions/index.html", context)
The UploadFileForm is used to accept a file input from the user.
The index() function handles the request for this endpoint. Inside the function, we first check if we received a POST request, and if the submitted form is valid. From the form, we can then obtain the submitted file via request.FILES['audio_file'].
Transcription is performed by creating a Transcriber() instance and calling the transcribe() function with the underlying file-type object as an argument. The received transcript.text can then be passed on to the web page via a context dictionary.
💡
Note that this function call blocks until the transcription is finished. We’ll also discuss non-blocking options in the section below.
Finally, the function renders and returns the specified HTML template together with the context we created. We’ll create the template in one of the next steps.
Define the URL configuration
To map this view function to a URL, we need to define a URL configuration. Create a new file /transcriptions/urls.py and define the following URL pattern:
from django.urls import path from . import views urlpatterns = [ path("", views.index, name="index"), ]
This app URL pattern also has to be included in the global project URL configuration. Open the /stt_project/urls.py and include the app URLs like this:
from django.contrib import admin from django.urls import include, path urlpatterns = [ path("", include("transcriptions.urls")), path("admin/", admin.site.urls), ]
Note that the route argument is an empty string in both URL patterns, which means our defined view in the transcriptions app is accessible on the base URL (homepage) of our application.
Create the HTML template
Now, create a Django HTML template that provides a form to upload files, and fields to display the text or potential errors. Inside the /transcriptions directory, create a /templates directory. Inside this /templates directory, create an index.html file with the following content:
<!DOCTYPE html> <html lang="en"> <head> <meta charset="UTF-8" /> <meta name="viewport" content="width=device-width, initial-scale=1.0" /> <title>AssemblyAI Django app</title> </head> <body> <h1>Transcription app with AssemblyAI</h1> <h2>Upload file:</h2> <form method="post" enctype="multipart/form-data"> {% csrf_token %} <input type="file" accept="audio/*" name="audio_file" /> <button id="upload-button" type="submit">Upload</button> </form> <h2>Transcript:</h2> {% if error %} <p id="error" style="color: red">{{ error }}</p> {% endif %} <p id="transcript">{{transcript}}</p> <script> const errorEl = document.getElementById("error"); const transcriptEl = document.getElementById("transcript"); const fileUploadBtn = document.getElementById("upload-button"); fileUploadBtn.addEventListener("click", updateTranscriptionText); async function updateTranscriptionText() { if (errorEl) { errorEl.remove(); } transcriptEl.innerText = "Transcribing..."; } </script> </body> </html>
The csrf_token used in the form adds CSRF protection for security. Note that the name of the input field "audio_file" corresponds to the names used in the view function and the UploadFileForm. The JavaScript code inside the <script> tag is optional but can be used to dynamically update text to reflect the progress of the transcription process.
Set the API key safely
Before we can run the app, we also need to provide the AssemblyAI API key.
Copy your API key from the dashboard, create a new file named .env in the root directory, and put in the following content, replacing the placeholder with your key.
ASSEMBLYAI_API_KEY=your_api_key_here
Inside the /stt_project/settings.py file put in the following two lines at the top to make the stored environment variable available in your app:
from dotenv import load_dotenv load_dotenv()
Run the Django app
Start the server with the following command:
python manage.py runserver
Click the link in your terminal to visit the app in your browser. Select a file from your system, click on the Upload button, and wait until the transcribed text appears.
Congratulations, you have successfully built a Speech-to-Text app with Django that can transcribe audio files!
Non-blocking implementations to integrate speech-to-text in Django
The above implementation with the transcribe() function call has the drawback that the application is blocked until the transcription is finished. While being the simplest solution, blocking operations will make the website feel sluggish and therefore degrade the user experience.
In this section, we discuss two other approaches you can implement to have non-blocking function calls.
Submit the file and use a webhook
Instead of waiting for the transcription to finish, you can leverage a Webhook. Webhooks are custom HTTP callbacks you can define to get notified when your transcripts are ready and handle them accordingly.
To create a webhook, create a transcription config and apply set_webhook(). The given webhook URL should point to the webhook receiver, which we’ll create in the next step. Use submit() instead of transcribe() to create a transcription without waiting for it to complete.
webhook_url = "https://example.com/webhook" # You can use this snippet in your view function # to avoid hardcoding the domain webhook_url = f"{request.get_host()}/webhook" config = aai.TranscriptionConfig().set_webhook(webhook_url) transcriber.submit(file.file, config)
Then, you can implement a different view function that acts as the webhook receiver and handles webhook deliveries. The delivery payload contains the transcript_id field, which can be used to retrieve the transcript object:
import json def webhook(request): if request.method == 'POST': data = json.loads(request.body) transcript_id = data["transcript_id"] transcript = aai.Transcript.get_by_id(transcript_id)
The mapped URL of this view of this view should correspond to the specified webhook URL in the transcription config. In our example, we chose to the /webhook endpoint, so we have to add this path to /transcriptions/urls.py:
urlpatterns = [ path("", views.index, name="index"), path("webhook/", views.webhook, name="webhook"), ]
Use async functions
Another approach are async function calls. Django has support for writing asynchronous (“async”) views, along with an entirely async-enabled request stack if you are running under ASGI.
In your async view function, you can use the transcribe_async() function, a convenience function in the AssemblyAI SDK.
# This call is non-blocking transcript_future = transcriber.transcribe_async(file.file) # ... Get the result somewhere else in your application if transcript_future.done(): transcript = transcript_future.result()
The result is a concurrent.futures.Future object which can be used to check the status of the transcription at a later time. The asynchronous approach allows the application to continue running while the transcription is being processed.
Speech-to-Text options for Django apps
AssemblyAI is only one of several options you can use to implement Speech-to-Text. When implementing Speech-to-Text in Django, you have two main options: Cloud-based APIs and Open Source libraries.
Below, we’ll briefly list pros and cons of both approaches and factors to consider when selecting your option.
Cloud-based Speech-to-Text APIs
Popular options are e.g. AssemblyAI and Google Cloud Speech-to-Text.
Pros:
- High accuracy
- Scalability
- Advanced features
- Easier to implement
- Regular updates
Cons:
- Potential costs
- Internet dependency
Open-Source libraries (e.g., SpeechRecognition, Whisper)
Popular options are e.g. SpeechRecognition and Whisper.
Pros:
- Free to use
- Greater control and customization
- Privacy (local processing)
Cons:
- Potentially lower accuracy
- More difficult to implement and host
- Maintenance responsibility
Factors to Consider:
- Accuracy requirements
- Budget constraints
- Desired features (real-time transcription, speaker diarization)
- Ease of integration with Django
- Scalability needs
- Privacy and data security
- Latency requirements
- Language support
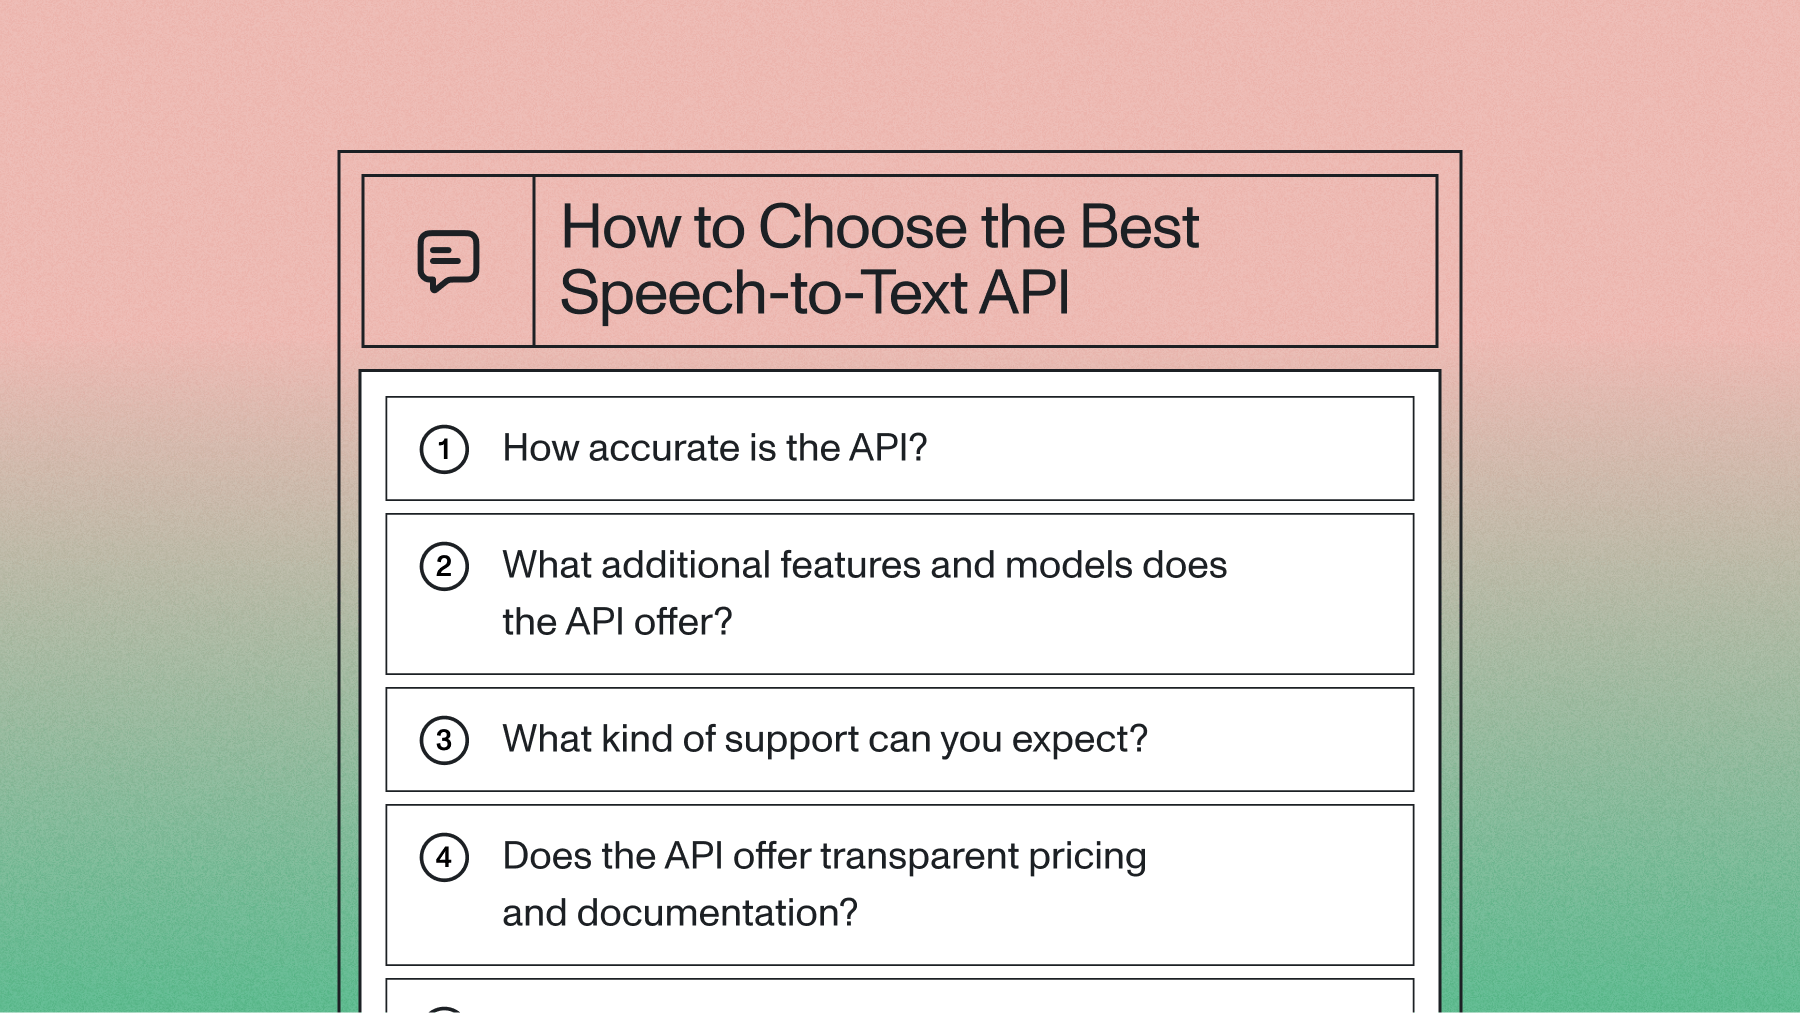
Choose based on your project's specific needs, resources, and long-term goals. We have a few helpful guides such as How to Choose the Best Speech-to-Text API and The top free Speech-to-Text APIs, AI Models, and Open Source Engines to help you pick the right solution for your project.
Conclusion
This tutorial taught you how to integrate Speech-to-Text into Django apps. You’ve learned how to build an app where users can upload audio files and that displays the returned transcript. With the help of the AssemblyAI Python SDK, implementing transcription functionality in Django is straightforward.
You’ve also learned about different implementation approaches with both blocking and non-blocking calls, and different Speech-to-Text solutions you can use.
To learn more about how you can analyze audio files with AI and get inspired to build more AI features into your Django app, check out more of our blog, like this article on using Anthropic’s Claude 3.5 Sonnet with audio data, or this guide on automatically identifying languages in audio with Python.
Lorem ipsum dolor sit amet, consectetur adipiscing elit, sed do eiusmod tempor incididunt ut labore et dolore magna aliqua. Ut enim ad minim veniam, quis nostrud exercitation ullamco laboris nisi ut aliquip ex ea commodo consequat. Duis aute irure dolor in reprehenderit in voluptate velit esse cillum dolore eu fugiat nulla pariatur.
Related posts

%20Blog%20-%20Slam-1.png)
