Summarize audio with LLMs in Node.js
Learn how to automatically summarize audio with Node.js and the AssemblyAI API.


Learn how to automatically summarize audio with Node.js and the AssemblyAI API. Automating this process can enhance efficiency by turning long recordings into concise summaries with actionable insights.
Large Language Models (LLMs) are capable of performing a wide range of tasks with text, a capability that's increasingly critical as industry analysis reveals a market-wide shift from experimentation to full-scale automation. In this tutorial, you'll learn how to use LLMs through AssemblyAI's LLM Gateway to summarize audio in Node.js.
Summarizing audio is a two-step process. First, you need to transcribe the audio to text. Then, once you have a transcript, you need to prompt an LLM to summarize it. In this tutorial, you'll use AssemblyAI for both of these steps, using the Universal model for transcription and the LLM Gateway to access a summarization model.
Set up your environment
Before you start, ensure you have:
Create a new project folder and initialize it:
mkdir audio-summarization
cd audio-summarization
npm init -y
Open the package.json file and add type: "module", to the list of properties.
{
  ...
  "type": "module",
  ...
}
This will tell Node.js to use the ES Module syntax for exporting and importing modules, and not to use the old CommonJS syntax.
Then, install the AssemblyAI JavaScript SDK which lets you interact with AssemblyAI API more easily:
npm install --save assemblyai
If you don't have an AssemblyAI account yet, you must first sign up. Once you've copied your API key, configure it as the ASSEMBLYAI_API_KEY environment variable on your machine:
# Mac/Linux:
export ASSEMBLYAI_API_KEY=<YOUR_KEY>

# Windows:
set ASSEMBLYAI_API_KEY=<YOUR_KEY>
Transcribe and summarize audio with LLMs
To summarize audio with LLMs in Node.js, you need the AssemblyAI SDK to transcribe audio files and apply LLM summarization in a single workflow. This takes just a few lines of code.
Transcribe the audio
First, you'll transcribe the audio source. This example uses a podcast episode, but any audio or video file will work. Create a file named summarize.js and add the following code:
import { AssemblyAI } from 'assemblyai';

const client = new AssemblyAI({ apiKey: process.env.ASSEMBLYAI_API_KEY });

const audioUrl = 'https://storage.googleapis.com/aai-web-samples/lex_guido.webm';

const transcript = await client.transcripts.transcribe({
  audio: audioUrl
});

if (transcript.status === 'error') {
  throw new Error(transcript.error);
}
This code imports the SDK, initializes the client, and submits the audio file for transcription. We also check if the transcription status is an error and throw an exception if it is.
Summarize the transcript
Once you have a successful transcript, you can use our LLM Gateway to generate a summary. The LLM Gateway provides a unified interface to access various Large Language Models. You'll send the transcript text along with a prompt to the model.
Add the following code to your summarize.js file:
const llmResponse = await fetch('https://api.assemblyai.com/v2/llm', {
  method: 'POST',
  headers: {
    authorization: process.env.ASSEMBLYAI_API_KEY,
    'Content-Type': 'application/json',
  },
  body: JSON.stringify({
    model: 'claude-3-5-sonnet',
    prompt: `Based on the following transcript, provide a concise, one-paragraph summary of the podcast episode.\n\nTranscript:\n${transcript.text}`,
  })
});

const summary = await llmResponse.json();
console.log(summary.response);
This sends the full text of your transcript to the LLM Gateway with a simple prompt. The LLM then processes the text and returns a summary.
Run the script
Execute the script from your terminal:
node summarize.js
After a few moments, the generated summary will be printed to your console.
Handle different audio formats and sources
The SDK handles multiple input types automatically:
- Local file paths
- Public URLs
- Streams and buffers
For local files, replace the URL with a file path:
import fs from 'fs';

// ... client setup

const path = './path/to/your/audio.mp3';

const transcript = await client.transcripts.transcribe({
  audio: path
});

// ... same summarization logic
The SDK manages the file upload and processing, so you don't need to change the rest of your code. This approach works for all supported audio and video formats, giving you the flexibility to build robust applications that can handle various user inputs.
Process audio from streams or buffers:
// From a buffer
const audioBuffer = await fs.promises.readFile('./audio.mp3');
const transcript = await client.transcripts.transcribe({ audio: audioBuffer });

// From a stream
const audioStream = fs.createReadStream('./audio.mp3');
const transcript = await client.transcripts.transcribe({ audio: audioStream });
Advanced prompt engineering for better summaries
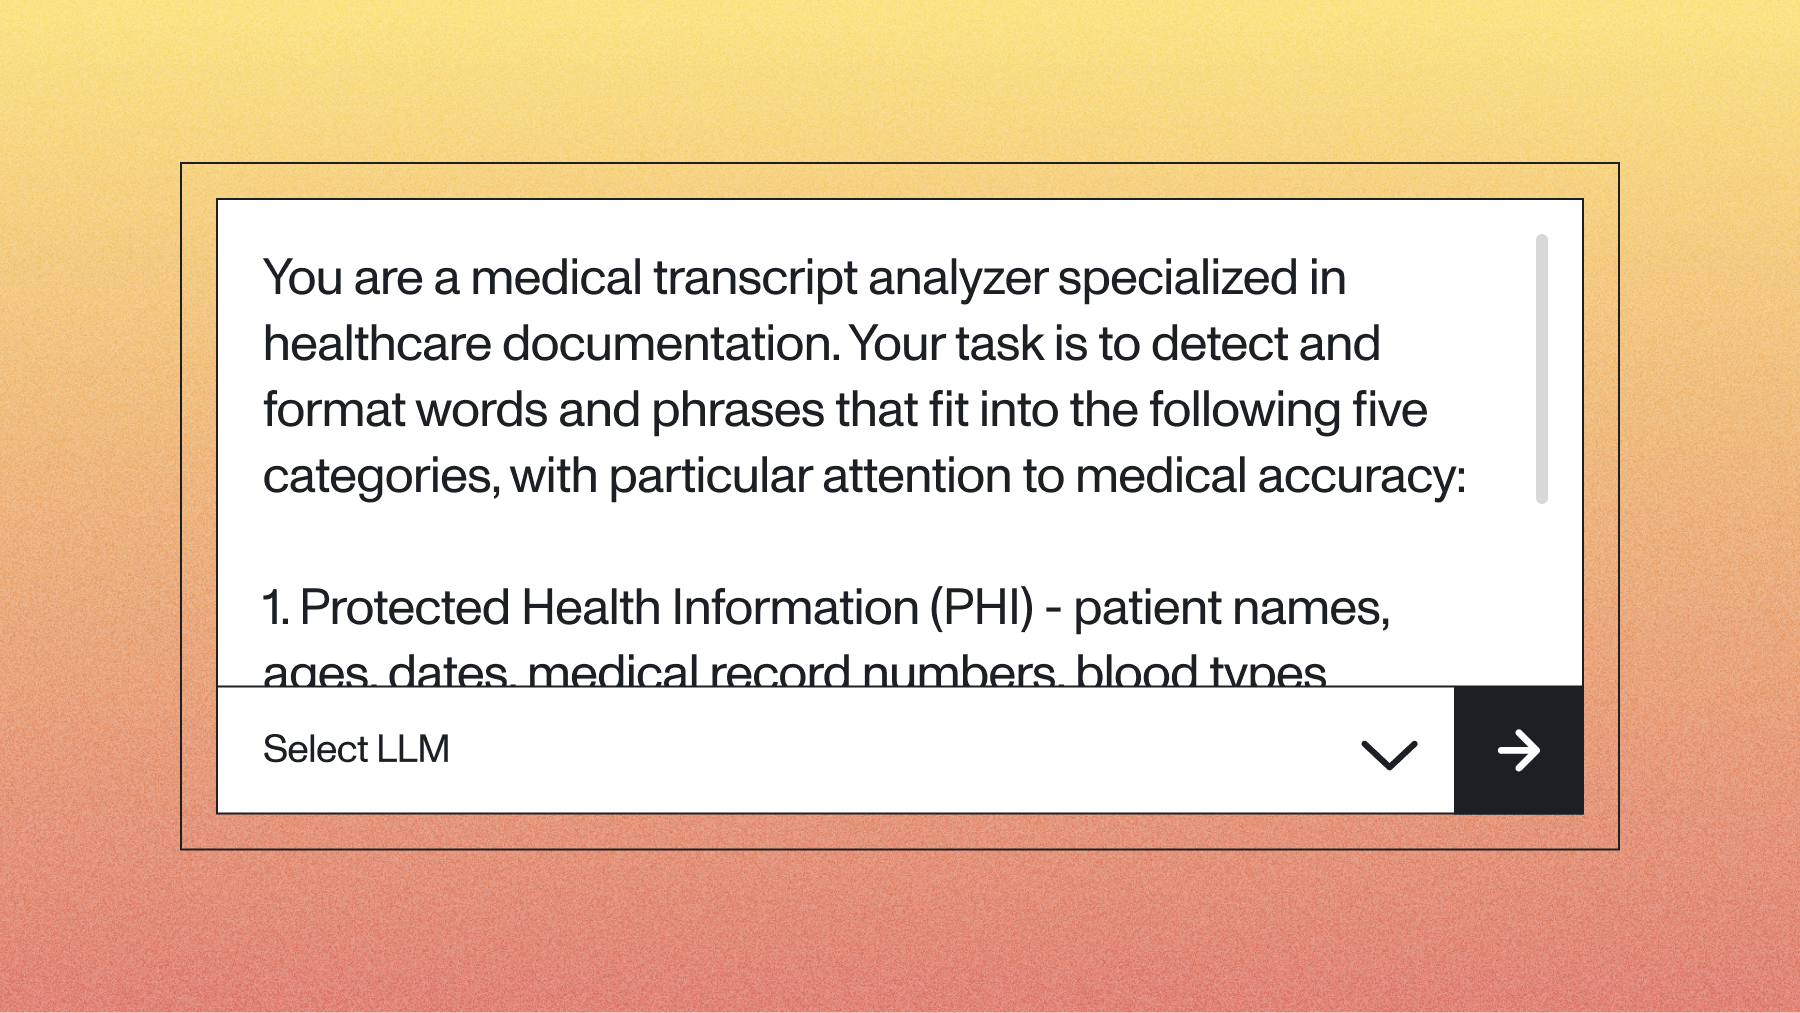
A generic prompt is a good start, but the real power of LLMs comes from custom prompts tailored to your specific needs. For example, best practices suggest choosing a summary type like 'gist' for short content or 'paragraph' for longer recordings. You can guide the model to produce summaries in different formats, styles, or lengths.
For example, instead of a single paragraph, you could ask for a bulleted list of key topics:
const llmResponse = await fetch('https://api.assemblyai.com/v2/llm', {
  method: 'POST',
  headers: {
    authorization: process.env.ASSEMBLYAI_API_KEY,
    'Content-Type': 'application/json',
  },
  body: JSON.stringify({
    model: 'claude-3-5-sonnet',
    prompt: `Based on the following transcript, generate a bulleted list of the main topics discussed in the episode. Each bullet point should be a short, descriptive sentence.\n\nTranscript:\n${transcript.text}`,
  })
});

const summary = await llmResponse.json();
console.log(summary.response);
You can also add context to improve the summary's relevance. If you're summarizing a business meeting, providing context about the project or team helps the model focus on what's important. This context is included directly in the prompt:
const meetingContext = 'This was a weekly sync for the Project Phoenix development team.';

const llmResponse = await fetch('https://api.assemblyai.com/v2/llm', {
  method: 'POST',
  headers: {
    authorization: process.env.ASSEMBLYAI_API_KEY,
    'Content-Type': 'application/json',
  },
  body: JSON.stringify({
    model: 'claude-3-5-sonnet',
    prompt: `Context: ${meetingContext}\n\nBased on the following transcript, summarize the key decisions and action items from this meeting.\n\nTranscript:\n${transcript.text}`,
  })
});

const summary = await llmResponse.json();
console.log(summary.response);
For structured output, you can request specific formats like markdown or even JSON:
const llmResponse = await fetch('https://api.assemblyai.com/v2/llm', {
  method: 'POST',
  headers: {
    authorization: process.env.ASSEMBLYAI_API_KEY,
    'Content-Type': 'application/json',
  },
  body: JSON.stringify({
    model: 'claude-3-5-sonnet',
    prompt: `Based on the following transcript, summarize the episode using this format:
**<topic header>**
<topic summary>

Create at least 3 topics.

Transcript:
${transcript.text}`,
  })
});

const summary = await llmResponse.json();
console.log(summary.response);
Experimenting with different prompts is the best way to get the exact output your application requires. The Prompt Engineering guide provides additional options for fine-tuning your results.
Error handling and performance optimization
Production applications require comprehensive error handling. Wrap API calls in try...catch blocks:
try {
  const transcript = await client.transcripts.transcribe({
    audio: audioUrl
  });

  if (transcript.status === 'error') {
    throw new Error(`Transcription failed: ${transcript.error}`);
  }

  const llmResponse = await fetch('https://api.assemblyai.com/v2/llm', {
    method: 'POST',
    headers: {
      authorization: process.env.ASSEMBLYAI_API_KEY,
      'Content-Type': 'application/json',
    },
    body: JSON.stringify({
      model: 'claude-3-5-sonnet',
      prompt: `Based on the transcript, provide a concise summary.\n\nTranscript:\n${transcript.text}`,
    })
  });

  if (!llmResponse.ok) {
    const errorData = await llmResponse.json();
    throw new Error(`LLM Gateway request failed: ${errorData.error}`);
  }

  const summary = await llmResponse.json();
  console.log(summary.response);
} catch (error) {
  console.error('An error occurred:', error.message);
  // Handle error appropriately - retry, log, notify, etc.
}
For better performance with multiple files:
- Submit transcription jobs in parallel
- Use
Promise.all()for concurrent processing - Process results as they complete
const audioFiles = [
  'https://storage.googleapis.com/aai-web-samples/espn.m4a',
  'https://storage.googleapis.com/aai-web-samples/lex_guido.webm'
];

// Submit all files for transcription in parallel
const transcriptPromises = audioFiles.map(audio =>
  client.transcripts.transcribe({ audio })
);

const transcripts = await Promise.all(transcriptPromises);

// Filter out any errors and collect the text
const combinedText = transcripts
  .filter(t => t.status === 'completed')
  .map(t => t.text)
  .join('\n\n');

// Summarize all successful transcripts together
if (combinedText) {
  const llmResponse = await fetch('https://api.assemblyai.com/v2/llm', {
    method: 'POST',
    headers: {
      authorization: process.env.ASSEMBLYAI_API_KEY,
      'Content-Type': 'application/json',
    },
    body: JSON.stringify({
      model: 'claude-3-5-sonnet',
      prompt: `Based on the following transcripts, create a combined summary of all the audio files.\n\nTranscripts:\n${combinedText}`,
    })
  });

  const summary = await llmResponse.json();
  console.log(summary.response);
}
The transcribe method handles polling internally and only resolves once the transcription is complete. For long-running jobs or more complex workflows, you can use the asynchronous submit method, which returns immediately. You would then need to poll for the result. The following function demonstrates how to poll for a transcript's status with exponential backoff:
async function waitForTranscript(transcriptId, maxRetries = 60) {
  let attempts = 0;
  let delay = 1000;

  while (attempts < maxRetries) {
    const transcript = await client.transcripts.get(transcriptId);

    if (transcript.status === 'completed') return transcript;
    if (transcript.status === 'error') {
      throw new Error(`Transcription failed: ${transcript.error}`);
    }

    await new Promise(resolve => setTimeout(resolve, delay));
    delay = Math.min(delay * 1.5, 10000);
    attempts++;
  }

  throw new Error('Transcription timed out');
}
This non-blocking approach significantly outperforms sequential processing. Try our API for free to build your own audio summarization applications.
Frequently asked questions about audio summarization with LLMs
How do I summarize a local audio file instead of a URL?
The AssemblyAI Node.js SDK handles local files automatically. Instead of providing a URL to the audio parameter, provide the local file path as a string, like audio: './my-audio-file.mp3'. The SDK will manage the upload and transcription process.
Can I change the format of the summary?
Yes. You can control the output format by changing the prompt you send to the LLM Gateway. For example, you can ask for a bulleted list, a JSON object, or a summary with a specific tone by clearly defining your requirements in the prompt.
What's the best way to handle errors during transcription or summarization?
Always check the status of the transcript object. If it's 'error', the error property will contain a descriptive message. Additionally, wrap your API calls in a try...catch block to handle network issues or other unexpected exceptions that might occur during the request.
Ship reliable audio summarization
Leverage the AssemblyAI SDK's built-in polling and robust APIs to handle errors and scale confidently. Create your account to access your API key and start integrating.
How can I optimize costs when processing large audio files?
Process files in parallel and use compressed audio formats. Implement caching to avoid redundant API calls. These optimizations are critical, as a recent survey found that cost is the single most important factor for 64% of tech leaders when evaluating AI vendors.
Can I process multiple audio files simultaneously?
Yes, use Promise.all() to submit multiple transcription jobs in parallel. This significantly reduces processing time./
Lorem ipsum dolor sit amet, consectetur adipiscing elit, sed do eiusmod tempor incididunt ut labore et dolore magna aliqua. Ut enim ad minim veniam, quis nostrud exercitation ullamco laboris nisi ut aliquip ex ea commodo consequat. Duis aute irure dolor in reprehenderit in voluptate velit esse cillum dolore eu fugiat nulla pariatur.


