Build an AI Voice Agent with DeepSeek R1, AssemblyAI, and ElevenLabs
Learn how to build a real-time AI voice agent using AssemblyAI, DeepSeek R1 via Ollama, and ElevenLabs. With AI voice agents handling an increasing share of customer interactions, this guide walks you through setting up transcription, AI-powered responses, and voice synthesis for seamless automation.


AI voice agents are revolutionizing how businesses interact with users, enabling real-time conversations with intelligent and human-like responses. According to a16z, financial services alone make up 25% of total global contact center spending and account for over $100 billion annually in business process outsourcing (BPO). With voice agents increasingly completing complex tasks successfully, businesses are rapidly adopting automated voice interactions to improve efficiency and customer experience.
In this tutorial, you'll learn how to build an AI voice agent that transcribes speech in real time using AssemblyAI's Universal-Streaming, generates intelligent responses using DeepSeek R1 (7B model) via Ollama, and converts those responses into speech with ElevenLabs. The entire process happens with ultra-low latency, allowing for smooth and interactive voice-based applications that feel natural and responsive.
By the end of this tutorial, you'll have a fully functional AI voice agent that can transcribe, process, and respond to spoken queries with industry-leading accuracy and speed. If you prefer watching the video, check it out below:
Key components of the AI voice agent
The AI voice agent consists of three major components:
- Real-time speech-to-text: AssemblyAI's Universal-Streaming model converts spoken words into text with ultra-low latency (~300ms) and superior accuracy, specifically designed for voice agents.
- AI-powered responses: DeepSeek R1 (7B model) via Ollama generates context-aware responses with intelligent conversation flow.
- Text-to-speech synthesis: ElevenLabs converts the AI-generated text response into natural-sounding audio.
In this step-by-step guide, we'll install the necessary dependencies, configure the AI agent, and run the complete system using AssemblyAI's cutting-edge Universal-Streaming technology that delivers the accuracy and speed voice agents need.
Step 1: Install required dependencies
Before you begin, ensure you have all the required dependencies installed.
1.1 Get API Keys
To use AssemblyAI and ElevenLabs, sign up for their API keys:
- AssemblyAI (Speech-to-Text): Sign up for a free API key - Get $50 in free credits to get started
- ElevenLabs (Text-to-Speech): Sign up for an account
1.2 Install Ollama
DeepSeek R1 is accessed via Ollama. Install Ollama by following the instructions here.
1.3 Install PortAudio (Required for real-time transcription)
For Debian/Ubuntu:
apt install portaudio19-dev
For MacOS:
brew install portaudio
1.4 Install Python Libraries
Run the following command to install the required Python dependencies:
pip install "assemblyai[extras]" ollama elevenlabs
1.5 (MacOS Only) Install MPV for Audio Streaming
brew install mpv
Step 2: Download the DeepSeek R1 model
Since this script uses DeepSeek R1 via Ollama, download the model locally by running:
ollama pull deepseek-r1:7b
Step 3: Implement the AI voice agent
Create a new Python file called AIVoiceAgent.py and add the following code.
3.1 Import required libraries
import assemblyai as aai
from assemblyai.streaming.v3 import (
    BeginEvent,
    StreamingClient,
    StreamingClientOptions,
    StreamingError,
    StreamingEvents,
    StreamingParameters,
    StreamingSessionParameters,
    TerminationEvent,
    TurnEvent,
)
from elevenlabs.client import ElevenLabs
from elevenlabs import stream
import ollama
The first step is to import the necessary libraries. AssemblyAI's Universal-Streaming is used for real-time speech-to-text transcription with superior accuracy and ultra-low latency, Ollama allows us to interact with DeepSeek R1, and ElevenLabs is responsible for converting AI-generated text into speech. These tools together form the core of our AI voice agent, providing the developer-friendly integration that makes building production-ready voice applications straightforward.
3.2 Define the AI voice agent class
Next, we define the AIVoiceAgent class, which initializes our API keys and sets up the conversation state.
class AIVoiceAgent:
    def __init__(self):
        aai.settings.api_key = "ASSEMBLYAI_API_KEY"
        self.elevenlabs_client =
ElevenLabs(api_key="ELEVENLABS_API_KEY")
        self.streaming_client = None
        self.full_transcript = [
            {"role": "system", "content": "You are a language model called R1 created by DeepSeek. Answer in less than 300 characters."}
        ]
This class stores API keys for AssemblyAI and ElevenLabs and initializes full_transcript, which keeps track of the conversation history. The system message defines the behavior of the AI model, ensuring that responses are concise and relevant. AssemblyAI's Universal-Streaming provides the reliable foundation for accurate speech recognition that powers the entire conversation flow.
3.3 Set up real-time transcription with Universal-Streaming
We then define the function that handles streaming real-time transcription using AssemblyAI's latest Universal-Streaming model.
    def start_transcription(self):
        print("\nReal-time transcription with Universal-Streaming:",
end="\r\n")

        # Configure streaming parameters for optimal voice agent
performance
        streaming_params = StreamingParameters(
            sample_rate=16000,
            format_turns=True,  # Enable intelligent turn detection
            min_end_of_turn_silence_when_confident=160  # Optimized for
voice agents
        )

        self.streaming_client = StreamingClient(
            StreamingClientOptions(api_key=aai.settings.api_key)
        )

        # Set up event handlers for Universal-Streaming
        self.streaming_client.on(StreamingEvents.Begin, self.on_begin)
        self.streaming_client.on(StreamingEvents.Turn, self.on_turn)
        self.streaming_client.on(StreamingEvents.Termination,
self.on_terminated)
        self.streaming_client.on(StreamingEvents.Error, self.on_error)
        # Start the streaming session
        self.streaming_client.connect(streaming_params)

        # Stream microphone audio
        microphone_stream =
aai.extras.MicrophoneStream(sample_rate=16000)
        self.streaming_client.stream(microphone_stream)
This method starts the real-time transcription process using Universal-Streaming, capturing audio from the microphone and streaming it to AssemblyAI for conversion into text with ~300ms latency. Universal-Streaming's intelligent endpointing ensures natural conversation flow without awkward pauses or premature interruptions.
3.4 Handling Universal-Streaming events
Once the transcription starts, we need to process the incoming text using Universal-Streaming's event-driven architecture.
    def on_begin(self, client, event: BeginEvent):
        print(f"Universal-Streaming session started with ID:
{event.id}")
    def on_turn(self, client, event: TurnEvent):
        if not event.transcript:
            return

        if event.end_of_turn:
            print(f"\nFinal: {event.transcript}")
            self.generate_ai_response(event.transcript)
        else:
            print(f"Partial: {event.transcript}", end="\r")
    def on_terminated(self, client, event: TerminationEvent):
        print(f"\nSession terminated: {event.audio_duration_seconds}
seconds processed")
    def on_error(self, client, error: StreamingError):
        if not str(error):
            return
        print(f"Streaming error: {error}")
Universal-Streaming provides immutable transcripts, meaning the text won't change once delivered, enabling faster downstream processing. When an end-of-turn is detected using intelligent endpointing, the final transcript is sent to the AI model for response generation.
3.5 Generate AI responses with DeepSeek R1
Once transcription is complete, the system sends the conversation history to DeepSeek R1 via Ollama to generate a response.
    def generate_ai_response(self, transcript_text):
        self.stop_transcription()
        self.full_transcript.append({"role": "user", "content":
transcript_text})
        print(f"\nUser: {transcript_text}", end="\r\n")

        ollama_stream = ollama.chat(
            model="deepseek-r1:7b",
            messages=self.full_transcript,
            stream=True,
        )


        response_text = "".join(chunk['message']['content'] for chunk in
ollama_stream)
        print("DeepSeek R1:", response_text )
        self.speak_response(response_text)
        self.full_transcript.append({"role": "assistant", "content":
response_text})
        self.start_transcription()


    def speak_response(self, text):
        """Convert text to speech using ElevenLabs (new SDK layout)"""
        try:
            # Preferred path for current SDKs (streams chunks as they’re
produced)
            audio_generator = self.elevenlabs_client.text_to_speech.stream(
                text=text,
                voice_id="pNInz6obpgDQGcFmaJgB",        # Adam’s voice ID :contentReference[oaicite:0]{index=0}
                model_id="eleven_monolingual_v1",
                output_format="mp3_44100_128",
            )
        except AttributeError:
            # Fall back to older SDKs that still expose `.generate()`
            audio_generator = self.elevenlabs_client.generate(
                text=text,
                voice="Adam",
                model="eleven_monolingual_v1",
            )
        # Plays the bytes (or generator) through your system audio
        stream(audio_generator)
    def stop_transcription(self):
        if self.streaming_client:
            self.streaming_client.disconnect(terminate=True)
This method pauses transcription, sends the user's message to DeepSeek R1, and streams back the AI-generated response. The response is then converted to speech using ElevenLabs, creating a seamless conversation experience powered by AssemblyAI's industry-leading accuracy.
3.6 Main execution
    def run(self):
        print("Starting AI Voice Agent with Universal-Streaming...")
        print("Pricing: Universal-Streaming at just $0.15/hour with
unlimited concurrency")
        try:
            self.start_transcription()
            input("Press Enter to stop...")
        except KeyboardInterrupt:
            print("\nShutting down...")
        finally:
            self.stop_transcription()


if __name__ == "__main__":
    agent = AIVoiceAgent()
    agent.run()
Step 4: Running the AI voice agent
Once all dependencies are installed and the model is downloaded, simply run:
python AIVoiceAgent.py
Why Universal-Streaming for voice agents
AssemblyAI's Universal-Streaming delivers several key advantages for voice agent applications:
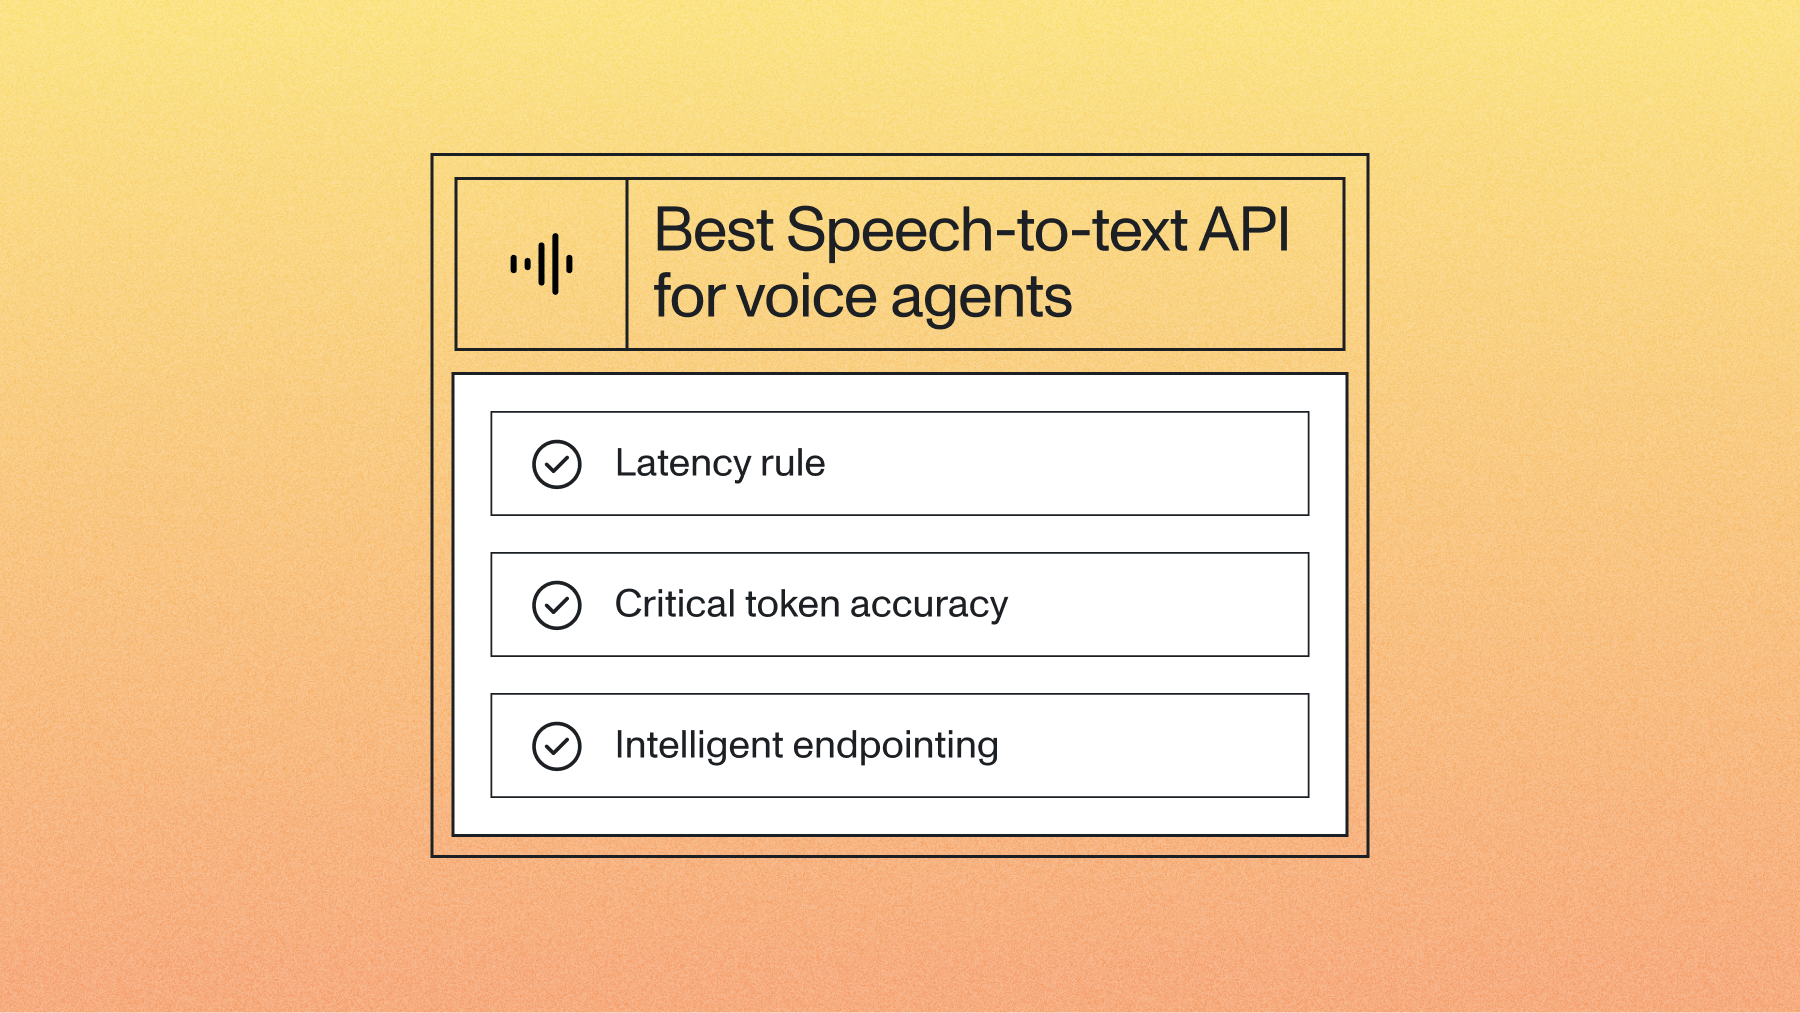
- Ultra-low latency: ~300ms immutable transcripts enable faster response times
- Superior accuracy: Substantial improvements in capturing emails, codes, and proper nouns
- Intelligent endpointing: Combines acoustic and semantic features for natural conversation flow
- Transparent pricing: $0.15/hour with unlimited concurrency and no hidden fees
- Production-ready: Designed specifically for voice agents with enterprise reliability
This makes Universal-Streaming the ideal choice for developers building voice agents that need to feel natural, complete tasks successfully, and scale without compromise.
Final words
By integrating AssemblyAI's Universal-Streaming, DeepSeek R1, and ElevenLabs, this tutorial demonstrates how to build a production-ready AI voice agent with ultra-low latency transcription, intelligent conversation flow, and natural speech synthesis—enabling voice agents that feel more responsive and complete tasks successfully.
Universal-Streaming's developer-friendly API and cutting-edge technology provide the reliable foundation needed for building voice agents that deliver exceptional user experiences. With industry-leading accuracy and transparent pricing, you can focus on building innovative features while AssemblyAI handles the complexities of speech recognition.
Learn more about AssemblyAI's Universal-Streaming: Check the Docs
Lorem ipsum dolor sit amet, consectetur adipiscing elit, sed do eiusmod tempor incididunt ut labore et dolore magna aliqua. Ut enim ad minim veniam, quis nostrud exercitation ullamco laboris nisi ut aliquip ex ea commodo consequat. Duis aute irure dolor in reprehenderit in voluptate velit esse cillum dolore eu fugiat nulla pariatur.

%20audio%20with%20timestamps%20for%20captions%20with%20AssemblyAI.png)

