Build a real-time AI voice bot using Python, AssemblyAI, and ElevenLabs
Learn how to build a real-time AI voice bot using Python, AssemblyAI's Universal-Streaming speech-to-text, OpenAI, and ElevenLabs.


You can build a real-time AI voice bot in Python by chaining three components: a streaming speech-to-text model that transcribes the caller, an LLM that generates a reply, and a text-to-speech model that speaks it back. This tutorial builds an AI-powered dental clinic receptionist using AssemblyAI's Universal-3.5 Pro Real-Time for speech-to-text, OpenAI for responses, and ElevenLabs for voice synthesis.
AI voice bots are changing how businesses handle customer interactions—and for developers, they're a chance to build intelligent, scalable systems that make those interactions faster and more natural. The speech-to-text layer is the foundation: if the bot mishears a name, a phone number, or a date, everything downstream breaks. That's why we use Universal-3.5 Pro Real-Time, AssemblyAI's flagship real-time model, which interprets each turn in the context of the conversation and lets you tune the latency-versus-accuracy trade-off per use case.
The complete code is in this GitHub repository.
Key components of the AI voice bot
An AI voice bot has three major components working in sequence:
- Universal-3.5 Pro Real-Time speech-to-text: AssemblyAI's flagship real-time model transcribes the caller's speech with low latency and strong accuracy on names and numbers. Context carryover means each turn is interpreted in the context of prior turns—useful when a caller references something they said earlier. (New to ASR? Start with what is automatic speech recognition.)
- Natural language processing: OpenAI's language models generate context-aware responses.
- Voice synthesis: ElevenLabs converts the response into natural-sounding audio, closing the conversational loop.
The steps below show how to build the bot, with code snippets for each component.
Step 1: Install required Python libraries
Run the following in your terminal to install the dependencies:
brew install portaudio mpv
pip install "assemblyai[extras]" elevenlabs openai python-dotenv
These power the core functions: streaming transcription, response generation, speech synthesis, and secure key loading.
Step 2: Set up credentials securely
Never hardcode API keys in your source. Create a .env file in your project directory and add your keys there:
ASSEMBLYAI_API_KEY=your_assemblyai_key_here
OPENAI_API_KEY=your_openai_key_here
ELEVENLABS_API_KEY=your_elevenlabs_key_here
Get your free API key from AssemblyAI and set up billing to access Universal-3.5 Pro Real-Time. As a first-time user, you'll get $50 in free credits that work for both async and real-time transcription, Speech Understanding, and more.
Create a file called main.py and load the keys from the environment:
import os
import logging
from typing import Type

from dotenv import load_dotenv
import assemblyai as aai
from assemblyai.streaming.v3 import (
    BeginEvent,
    StreamingClient,
    StreamingClientOptions,
    StreamingError,
    StreamingEvents,
    StreamingParameters,
    TerminationEvent,
    TurnEvent,
)
from elevenlabs import ElevenLabs, play, VoiceSettings
from openai import OpenAI

load_dotenv()

# Configuration
DEBUG_MODE = False  # Set to True to see all logs and debug messages

if DEBUG_MODE:
    logging.basicConfig(level=logging.INFO)
else:
    logging.basicConfig(level=logging.CRITICAL)
    for noisy in ("httpx", "httpcore", "openai", "elevenlabs"):
        logging.getLogger(noisy).setLevel(logging.CRITICAL)

logger = logging.getLogger(__name__)


class AI_Assistant:
    def __init__(self):
        # Load keys from environment — never hardcode them
        self.assemblyai_api_key = os.getenv("ASSEMBLYAI_API_KEY")
        self.openai_client = OpenAI(api_key=os.getenv("OPENAI_API_KEY"))
        self.elevenlabs_client = ElevenLabs(api_key=os.getenv("ELEVENLABS_API_KEY"))

        self.client = None
        self.microphone_stream = None

        # Conversation prompt
        self.full_transcript = [
            {"role": "system", "content": "You are a receptionist at a dental
clinic. Be resourceful and efficient."},
        ]

        # Track conversation state for latency optimization
        self.is_processing = False
        self.running_transcript = ""   # Accumulates finalized transcripts
        self.latest_partial = ""       # Current partial transcript
        self.should_process_on_next_final = False

        global ai_assistant_instance
        ai_assistant_instance = self
Step 3: Universal-3.5 Pro Real-Time transcription with AssemblyAI
At the core of the bot is Universal-3.5 Pro Real-Time. AssemblyAI's StreamingClient handles the audio stream and emits events during the session. The client connects to the current streaming endpoint, wss://streaming.assemblyai.com/v3/ws, which the SDK targets when you set api_host to streaming.assemblyai.com.
Create a start_transcription method to build the client, register event handlers, and stream from the microphone:
def start_transcription(self):
    self.client = StreamingClient(
        StreamingClientOptions(
            api_key=self.assemblyai_api_key,
            api_host="streaming.assemblyai.com",
        )
    )

    self.client.on(StreamingEvents.Begin, on_begin)
    self.client.on(StreamingEvents.Turn, on_turn)
    self.client.on(StreamingEvents.Termination, on_terminated)
    self.client.on(StreamingEvents.Error, on_error)

    self.client.connect(
        StreamingParameters(
            sample_rate=16000,
            format_turns=False,  # Disabled for lowest latency
        )
    )

    self.microphone_stream = aai.extras.MicrophoneStream(sample_rate=16000)
    self.client.stream(self.microphone_stream)
Add a stop_transcription method to cleanly disconnect. We stop transcription while the bot generates a response, then restart it when ready to listen again—a simple approach that avoids complex interrupt handling for this tutorial:
def stop_transcription(self):
    if self.client:
        self.client.disconnect(terminate=True)
        self.client = None
    if self.microphone_stream:
        self.microphone_stream = None
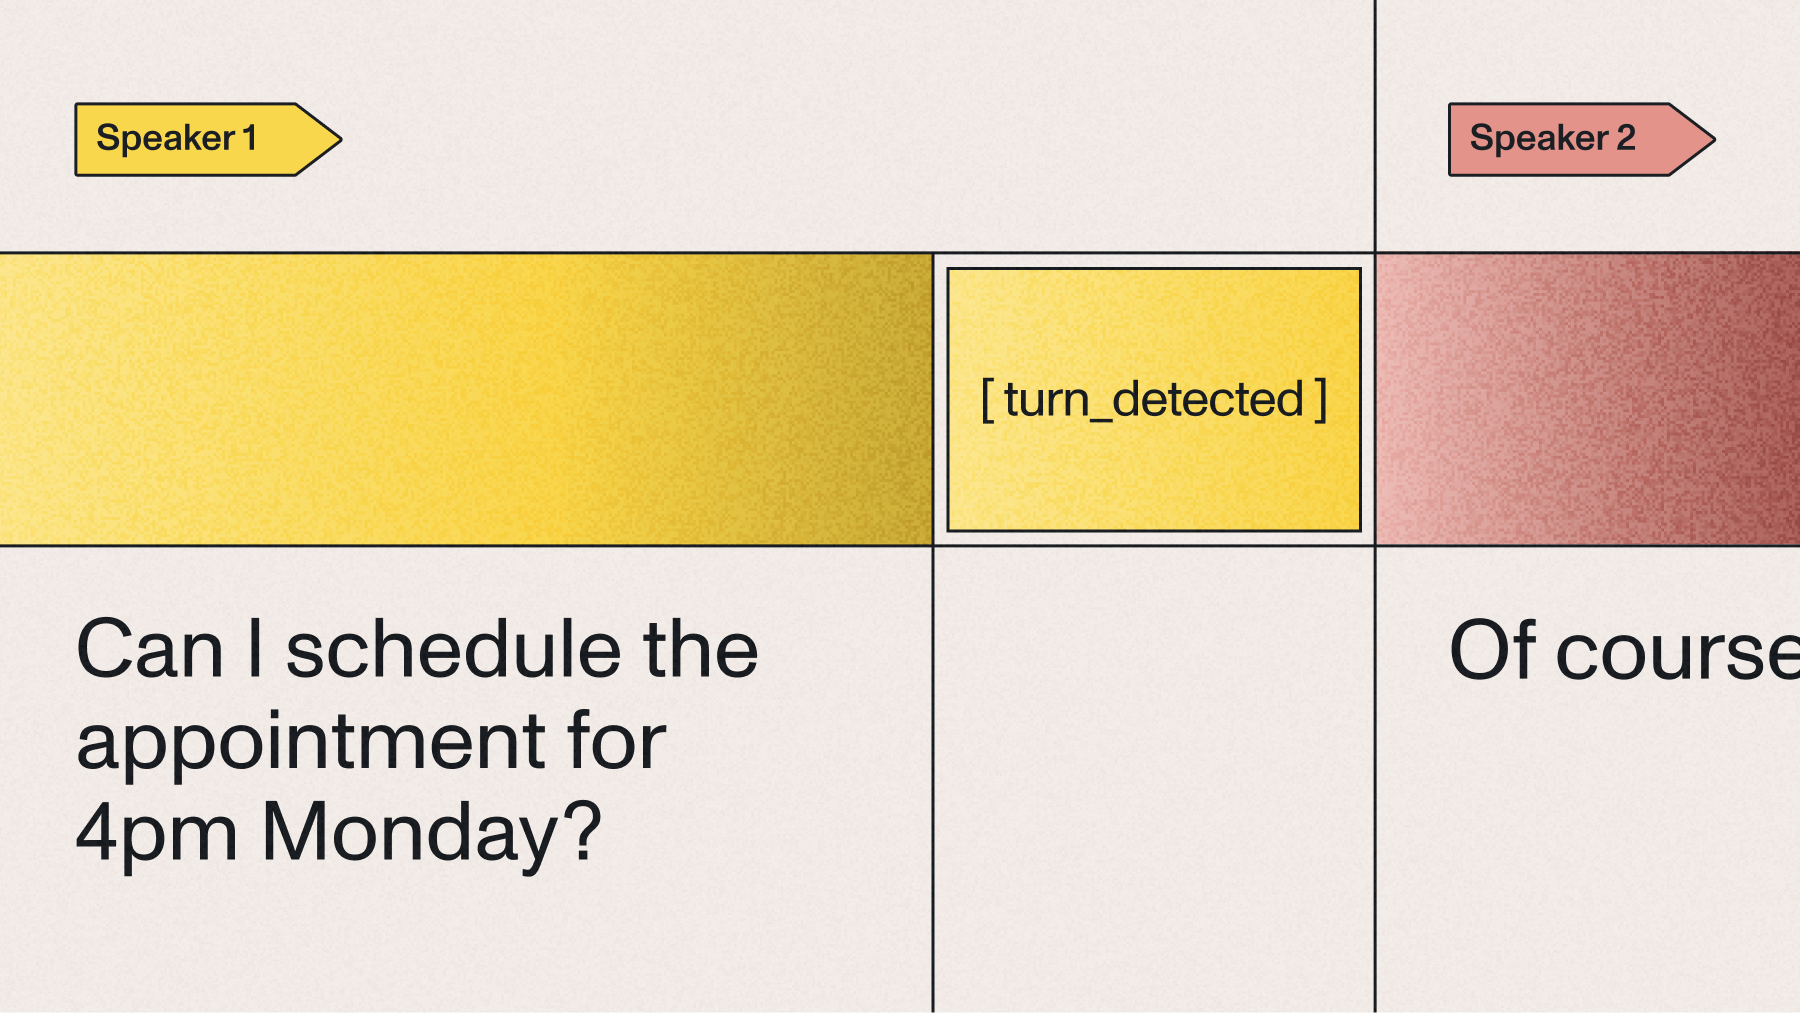
With Universal-3.5 Pro Real-Time, the client returns immutable transcripts via Turn objects. Each Turn has a transcript field with finalized words, an end_of_turn boolean, and metadata like end_of_turn_confidence. The on_turn handler accumulates text and processes it when end_of_turn is true—sending to the LLM immediately for the lowest latency:
ai_assistant_instance = None


def on_turn(client: Type[StreamingClient], event: TurnEvent):
    if not event.transcript or ai_assistant_instance.is_processing:
        return

    ai_assistant_instance.latest_partial = event.transcript
    print(f"\r{event.transcript}", end="", flush=True)

    if event.end_of_turn:
        if ai_assistant_instance.should_process_on_next_final:
            # Final for a partial we already processed — ignore it
            ai_assistant_instance.should_process_on_next_final = False
            ai_assistant_instance.latest_partial = ""
        else:
            ai_assistant_instance.should_process_on_next_final = True
            ai_assistant_instance.process_turn()
Add a process_turn method that combines finalized text with the latest partial and sends the complete text to the LLM:
def process_turn(self):
    complete_text = self.running_transcript
    if self.latest_partial:
        complete_text = f"{complete_text} {self.latest_partial}".strip()

    self.running_transcript = ""

    if complete_text.strip():
        self.generate_ai_response(complete_text)
Add the remaining event handlers outside the class:
def on_begin(client: Type[StreamingClient], event: BeginEvent):
    if DEBUG_MODE:
        logger.info(f"Session started: {event.id}")
    print("\n[Listening... Start speaking]")


def on_terminated(client: Type[StreamingClient], event: TerminationEvent):
    if DEBUG_MODE:
        logger.info(f"Session terminated: {event.audio_duration_seconds}s processed")


def on_error(client: Type[StreamingClient], error: StreamingError):
    if DEBUG_MODE:
        logger.error(f"Streaming error: {error}")
Build a real-time voice bot today. Get your free API key and $50 in credits, then run Universal-3.5 Pro Real-Time in your own Python project.
Step 4: Generate responses with OpenAI
Once transcription is wired up, use OpenAI to generate context-aware responses. Add this method to the AI_Assistant class:
def generate_ai_response(self, transcript_text):
    self.is_processing = True
    self.stop_transcription()

    self.full_transcript.append({"role": "user", "content": transcript_text})
    print(f"\nPatient: {transcript_text}\n")

    stream = self.openai_client.chat.completions.create(
        model="gpt-4.1-mini",
        messages=self.full_transcript,
        stream=True,
    )

    print("AI Receptionist: ", end="", flush=True)
    ai_response = ""
    for chunk in stream:
        if chunk.choices[0].delta.content:
            content = chunk.choices[0].delta.content
            ai_response += content
            print(content, end="", flush=True)
    print()

    self.generate_audio(ai_response)

    self.is_processing = False
    self.running_transcript = ""
    self.latest_partial = ""
    self.should_process_on_next_final = False
    self.start_transcription()
This stops transcription to prevent interruptions, appends the user's message, streams OpenAI's reply token by token, passes the full response to ElevenLabs, then resets state and restarts listening.
Step 5: Voice synthesis with ElevenLabs
Pass OpenAI's response to ElevenLabs to convert it into a natural-sounding audio stream:
def generate_audio(self, text):
    self.full_transcript.append({"role": "assistant", "content": text})

    audio = self.elevenlabs_client.text_to_speech.convert(
        text=text,
        voice_id="pNInz6obpgDQGcFmaJgB",
        output_format="mp3_22050_32",
        model_id="eleven_turbo_v2_5",
        voice_settings=VoiceSettings(
            stability=0.0,
            similarity_boost=1.0,
            style=0.0,
            use_speaker_boost=True,
            speed=1.0,
        ),
    )

    play(audio)
Test streaming accuracy on your own audio. See how Universal-3.5 Pro Real-Time handles names, phone numbers, and accents in the playground before you wire it into your bot.
Step 6: Finalize the AI voice bot
Add the entry point to the end of main.py, outside the AI_Assistant class:
if __name__ == "__main__":
    greeting = "Thank you for calling Vancouver dental clinic. My name
is Sonny, how may I assist you?"
    print(f"AI Receptionist: {greeting}")

    ai_assistant = AI_Assistant()
    ai_assistant.generate_audio(greeting)

    try:
        ai_assistant.start_transcription()
        input()  # Keep the program running until interrupted
    except KeyboardInterrupt:
        if DEBUG_MODE:
            print("\nStopping...")
    finally:
        ai_assistant.stop_transcription()
You'll hear the bot's greeting, then respond by speaking—and the conversation begins.
Final words
By combining AssemblyAI's Universal-3.5 Pro Real-Time, OpenAI, and ElevenLabs, you've built a voice bot that handles real-time conversation end to end. It's a strong starting point for call centers, customer support, and virtual receptionists where human-like interaction matters.
From here, the listening layer is the part that makes or breaks the experience. Two levers are worth tuning first: pick the right latency mode for your traffic (min latency for a snappy agent, max accuracy for noisy ordering), and add a keyterms_prompt for the names and terms your bot hears most. The complete code is on GitHub, and the real-time transcription in Python guide plus the streaming docs cover more advanced configuration. To go deeper, see our overview of AI voice agents. If you'd rather skip wiring three providers together, the Voice Agent API bundles STT, LLM, and TTS into one WebSocket connection—invisible infrastructure—at a flat $4.50/hr.
Build your voice agent today. Get your free API key and start with Universal-3.5 Pro Real-Time, or use the Voice Agent API for a full pipeline in one connection.
Frequently asked questions
How do I build a real-time AI voice bot in Python?
You build a real-time voice bot by chaining three components: a streaming speech-to-text model transcribes microphone audio, an LLM generates a response, and a text-to-speech model speaks it back. In Python, connect AssemblyAI's StreamingClient to a microphone over wss://streaming.assemblyai.com/v3/ws, handle TurnEvent callbacks to detect end of turn, pass the transcript to OpenAI, and stream the reply through ElevenLabs.
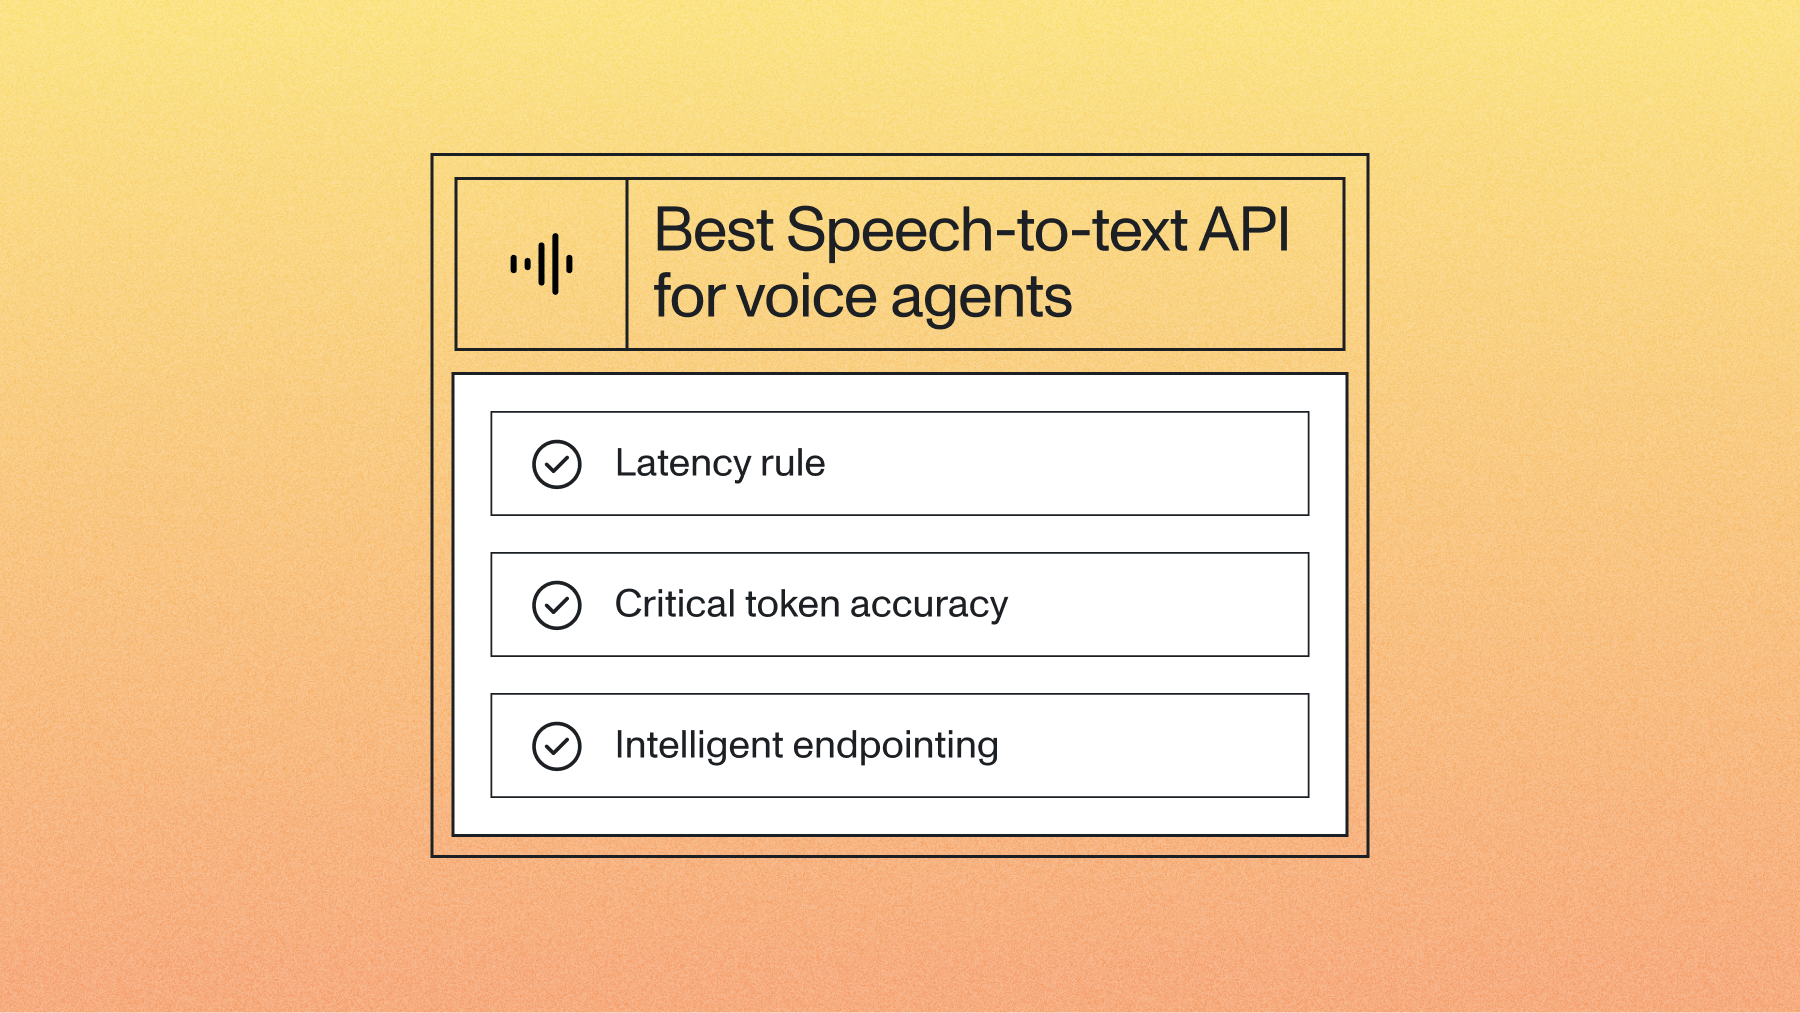
What is the best speech-to-text model for a real-time voice bot?
AssemblyAI's Universal-3.5 Pro Real-Time is purpose-built for real-time voice applications. It delivers immutable, low-latency transcripts with strong accuracy on names, phone numbers, and email addresses, and its context carryover interprets each turn in the context of the conversation. Those structured entities are exactly what a voice bot acts on, which makes entity accuracy more important than average word accuracy alone.
How do I keep my API keys secure in a Python voice bot?
Store API keys in a .env file and load them with python-dotenv rather than hardcoding them in your source. This keeps secrets out of version control and lets you use different keys across environments—the script in this tutorial reads ASSEMBLYAI_API_KEY, OPENAI_API_KEY, and ELEVENLABS_API_KEY from the environment.
How do I reduce latency in a real-time voice bot?
Set format_turns=False so the model returns transcripts as soon as a turn ends, and send the accumulated transcript to the LLM immediately on end_of_turn rather than waiting for formatted text. Universal-3.5 Pro Real-Time also offers configurable modes—choose min latency for the fastest possible response in a conversational agent, or balanced for general-purpose traffic.
How much does it cost to build a voice bot with AssemblyAI?
New AssemblyAI accounts get $50 in free credits to start, which covers both async and real-time transcription. 【VERIFY BEFORE PUBLISH: per-hour streaming price for Universal-3.5 Pro Real-Time has not been announced—do not state a rate. Published streaming rates today include Universal-3 Pro Streaming at $0.45/hr and Universal-Streaming at $0.15/hr.】 If you'd rather use a bundled pipeline, the Voice Agent API combines STT, LLM, and TTS into a single WebSocket connection at a flat $4.50/hr.
Can I use a different LLM or TTS provider in this voice bot?
Yes—the architecture is modular, so you can swap OpenAI for another LLM or ElevenLabs for another TTS provider without changing the AssemblyAI streaming layer. The speech-to-text step is the foundation, and keeping Universal-3.5 Pro Real-Time in place preserves the entity accuracy, context carryover, and low latency the rest of the pipeline depends on.
Lorem ipsum dolor sit amet, consectetur adipiscing elit, sed do eiusmod tempor incididunt ut labore et dolore magna aliqua. Ut enim ad minim veniam, quis nostrud exercitation ullamco laboris nisi ut aliquip ex ea commodo consequat. Duis aute irure dolor in reprehenderit in voluptate velit esse cillum dolore eu fugiat nulla pariatur.
Related posts