Easy C# Speech Recognition
Learn how to implement speech-to-text transcription in C# using AssemblyAI's speech-to-text API. Complete tutorial with code examples for uploading audio files and processing transcriptions in .NET applications.

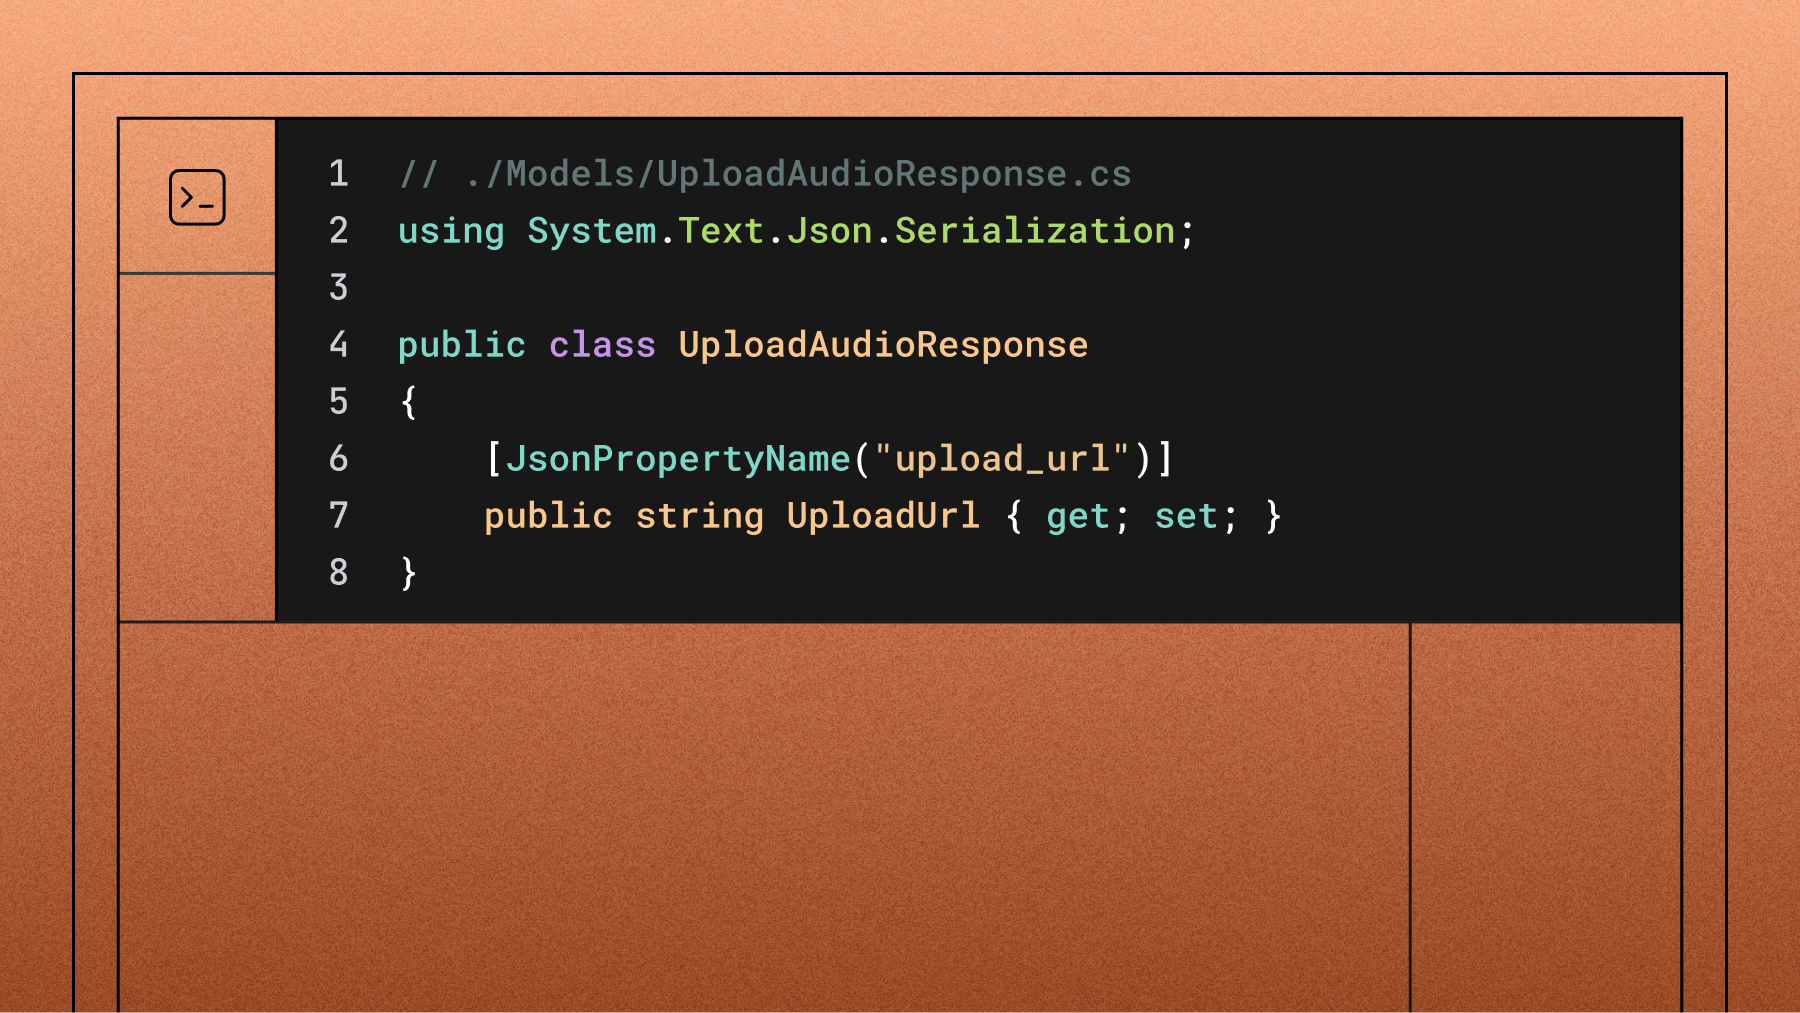

In this tutorial, we walk you through how to perform speech recognition using C# in just a few lines of code.
Over the course of this post, we'll learn how to do easy C# speech recognition, or speech-to-text transcription.
We'll be walking you through the process of uploading an audio file from your local machine to the AssemblyAI Speech-to-Text API, and submitting that audio file for transcription using C#.
C# speech recognition—at a glance
To accomplish the task at hand, we'll be interacting with 3 separate AssemblyAI API endpoints.
Upload file
This endpoint will be used to upload an audio file directly to the AssemblyAI API. It will return the URL of the uploaded file, that we'll use in the subsequent request to actually start the transcription.
POST /v2/upload
Submit for transcription
This endpoint will take the url of the uploaded file and will submit the file for transcription. The response will contain a unique identifier that will be used to query the transcription status and return the result once complete.
POST /v2/transcript
{
  "audio_url":
"https://assemblyai-pub-cdn.s3-us-west-2.amazonaws.com/Audio+to+T
ext+3.mp4"
}
Get transcription
This endpoint will take the ID of the requested transcription and return the status of the transcription as well as the result, once complete.
GET /v2/transcript/{transcript-id}
Prerequisites
Below is a list of tools you'll need to follow along with this walk-through.
- .NET 6.0 or later (recommended), .NET 5 (supported), or .NET Framework 4.6.2+ for legacy applications
- Visual Studio 2019 Community Edition or above.
- Optionally, you could use Visual Studio Code, but I won't be covering the steps for doing so.
- AssemblyAI API key to allow usage of the API. See below on how to acquire an API key.
Note about AssemblyAI C# SDK: As of April 2025, the official AssemblyAI C# SDK has been discontinued. This tutorial shows you how to integrate directly with the AssemblyAI API using HTTP requests, which provides full control and will continue to work regardless of SDK availability. For current SDK options, see our SDK documentation.
How to get an API key from AssemblyAI
Before you can get started, you'll need to sign up for a free account. With a free account, you'll be allowed to transcribe audio with your free credits. If you need additional transcription capacity, you can easily upgrade.
To sign up for your account and get your API key, navigate to the sign-up page, add your information, and click submit. You'll need to verify your email address, so check your inbox for the verification email.
Once you click the verification link in your email, you'll be taken to your account dashboard. You'll notice you can grab your API token from your account dashboard.
Create the project
- Open Visual Studio 2019 then locate and select the Console Application template.
- Name the project what you'd like and select the location on disk for where you'd like the project files stored. We'll name the project AssemblyAITranscriber.
- Finally, make sure you select .NET 6.0 or later as your target framework version.
Creating the API model classes
Now we need to create our strongly typed API models that will be used for serialization/deserialization of requests and responses when interacting with the API. At the root of your project, create a new folder named Models and add each of these classes to that folder.
// ./Models/UploadAudioResponse.cs
using System.Text.Json.Serialization;

public class UploadAudioResponse
{
    [JsonPropertyName("upload_url")]
    public string UploadUrl { get; set; }
}
// ./Models/Word.cs
using System.Text.Json.Serialization;

public class Word
{
    [JsonPropertyName("confidence")]
    public double Confidence { get; set; }

    [JsonPropertyName("end")]
    public int End { get; set; }

    [JsonPropertyName("start")]
    public int Start { get; set; }

    [JsonPropertyName("text")]
    public string Text { get; set; }
}
// ./Models/TranscriptionRequest.cs
using System.Text.Json.Serialization;

public class TranscriptionRequest
{
    [JsonPropertyName("audio_url")]
    public string AudioUrl { get; set; }
}
// ./Models/TranscriptionResponse.cs
using System.Text.Json.Serialization;

public class TranscriptionResponse
{
    [JsonPropertyName("id")]
    public string Id { get; set; }

    [JsonPropertyName("status")]
    public string Status { get; set; }

    [JsonPropertyName("audio_duration")]
    public double? AudioDuration { get; set; }

    [JsonPropertyName("audio_url")]
    public string AudioUrl { get; set; }

    [JsonPropertyName("confidence")]
    public double? Confidence { get; set; }

    [JsonPropertyName("text")]
    public string Text { get; set; }

    [JsonPropertyName("words")]
    public List<Word> Words { get; set; }

    [JsonPropertyName("error")]
    public string Error { get; set; }
}
Creating the API client class
We'll need to create the API Client class that will be used to interact with the API. This class will handle making HTTP requests to the API and performing deserialization of API responses to strongly typed objects.
Add a new class file to the root of your project named AssemblyAIApiClient.cs.
To begin, we'll add a few properties to this class to hold our API settings as well as a constructor to set those properties.
using System;
using System.IO;
using System.Net.Http;
using System.Text;
using System.Text.Json;
using System.Threading.Tasks;

public class AssemblyAIApiClient
{
    private readonly string _apiToken;
    private readonly string _baseUrl;
    private readonly HttpClient _httpClient;

    public AssemblyAIApiClient(string apiToken, string baseUrl)
    {
        _apiToken = apiToken;
        _baseUrl = baseUrl;
        _httpClient = new HttpClient()
        {
            BaseAddress = new Uri(_baseUrl)
        };
        _httpClient.DefaultRequestHeaders.Add("Authorization",
_apiToken);
    }
}
Add a simple helper method to the class that will support sending an HTTP request to the API and deserializing its response.
/// <summary>
/// Helper method that sends the <see cref="HttpRequestMessage"/> using the configured <see cref="HttpClient"/>
/// </summary>
/// <typeparam name="TModel">The type to deserialized the response to.</typeparam>
/// <param name="request">The http request message</param>
/// <returns>The deserialized response object</returns>
private async Task<TModel> SendRequestAsync<TModel>(HttpRequestMessage request)
{
    var response = await _httpClient.SendAsync(request);
    response.EnsureSuccessStatusCode();
    var json = await response.Content.ReadAsStringAsync();
    return JsonSerializer.Deserialize<TModel>(json);
}
Add a new method to the class that will be used to upload a file from disk to the API.
/// <summary>
/// Uploads a local audio file to the API
/// </summary>
/// <param name="filePath">The file path of the audio file</param>
/// <returns>A <see cref="Task{UploadAudioResponse}"/></returns>
public Task<UploadAudioResponse> UploadFileAsync(string filePath)
{
    if (!File.Exists(filePath))
    {
        throw new FileNotFoundException(filePath);
    }

    var request = new HttpRequestMessage(HttpMethod.Post,
"v2/upload");
    request.Headers.Add("Transfer-Encoding", "chunked");

    var fileReader = File.OpenRead(filePath);
    request.Content = new StreamContent(fileReader);

    return SendRequestAsync<UploadAudioResponse>(request);
}
Next, add a new method to the class that will initiate the transcription process by submitting an audio file via its URL.
/// <summary>
/// Submits an audio file at the specified URL for transcription
/// </summary>
/// <param name="audioUrl">The URL where the file is
hosted</param>
/// <returns>A <see cref="Task{TranscriptionResponse}"/></returns>
public Task<TranscriptionResponse> SubmitAudioFileAsync(string
audioUrl)
{
    var request = new HttpRequestMessage(HttpMethod.Post,
"v2/transcript");
    var requestBody = JsonSerializer.Serialize(new
TranscriptionRequest { AudioUrl = audioUrl });
    request.Content = new StringContent(requestBody,
Encoding.UTF8, "application/json");

    return SendRequestAsync<TranscriptionResponse>(request);
}
The final method to add will retrieve a transcription by its unique identifier. The object returned from this method will indicate the status of the transcription as well as the result of the transcription once complete.
/// <summary>
/// Retrieves the transcription
/// </summary>
/// <param name="id">The id of the transcription</param>
/// <returns>A <see cref="Task{TranscriptionResponse}"/></returns>
public Task<TranscriptionResponse> GetTranscriptionAsync(string
id)
{
    var request = new HttpRequestMessage(HttpMethod.Get,
$"v2/transcript/{id}");
    return SendRequestAsync<TranscriptionResponse>(request);
}
Orchestrating the symphony
Now that our API client supports interacting with the 3 API endpoints we need, it's just a matter of sequencing the operations.
The remainder of the code will be updating Program.cs at the root of the project. Let's start by adding a few constants within Program.cs.
using System;
using System.Threading;

class Program
{
    private const string API_KEY = "<YOUR_API_KEY>";
    private const string API_URL = "https://api.assemblyai.com/";
    // relative or absolute file path
    private const string AUDIO_FILE_PATH = @"./audio/rogan.mp4";
}
You'll want to make sure you add your API token in place of <YOUR_API_KEY> and specify the path to the audio file you want to transcribe.
Note: The audio file path can be a relative or absolute. When using a relative path, it may be easier to add the audio file to the VS project and set its Build Action to "Content -> Copy Always"
The final step will be to add the orchestration logic within the body of the Main method (of the Program class). The orchestration code will:
- Upload the audio file
- Submit the file for transcription
- Poll the status of the transcription until the transcription is complete.
- Perform post-processing (output some metadata about the transcription).
    static void Main(string[] args)
    {
        var client = new AssemblyAIApiClient(API_KEY, API_URL);

        // Upload file
        var uploadResult = client.UploadFileAsync(AUDIO_FILE_PATH).GetAwaiter().GetResult();

        // Submit file for transcription
        var submissionResult = client.SubmitAudioFileAsync(uploadResult.UploadUrl).GetAwaiter().
GetResult();
        Console.WriteLine($"File {submissionResult.Id} in status
{submissionResult.Status}");

        // Query status of transcription until it's `completed`
        TranscriptionResponse result = client.GetTranscriptionAsync(submissionResult.Id).GetAwaiter().Ge
tResult();
        while (!result.Status.Equals("completed") &&
!result.Status.Equals("error"))
        {
            Console.WriteLine($"File {result.Id} in status
{result.Status}");
            Thread.Sleep(15000);
            result = client.GetTranscriptionAsync(submissionResult.Id).GetAwaiter().Ge
tResult();
        }

        // Check for errors
        if (result.Status.Equals("error"))
        {
            Console.WriteLine($"Transcription failed:
{result.Error}");
            return;
        }

        // Perform post-processing with the result of the
transcription
        Console.WriteLine($"File {result.Id} in status
{result.Status}");
        Console.WriteLine($"{result.Words?.Count} words
transcribed.");

        foreach (var word in result.Words)
        {
            Console.WriteLine($"Word: '{word.Text}' at
{word.Start} with {word.Confidence * 100}% confidence.");
        }

        Console.ReadLine();
    }
}
Running the application
If you'd like, you can download the sample file that was used in this walk-through. You'll just need to download the file in your browser, or use a tool such as cURL or wget to download the audio file from the following address:
https://assemblyai-pub-cdn.s3-us-west-2.amazonaws.com/Audio+to+Text+3.mp4
Assuming your project builds and runs, you should get output similar to the following:
File 3ypvt33ft-0c4f-4bf6-b57a-c5b37b83453c in status queued
File 3ypvt33ft-0c4f-4bf6-b57a-c5b37b83453c in status processing
File 3ypvt33ft-0c4f-4bf6-b57a-c5b37b83453c in status completed
50 words transcribed.
Word: 'He's' at 0 with 92% confidence.
Word: 'a' at 550 with 52% confidence.
Word: 'fighter' at 1790 with 96% confidence.
Word: 'jet' at 2820 with 89% confidence.
Word: 'pilot' at 3150 with 94% confidence.
Word: 'for' at 3550 with 95% confidence.
Word: 'the' at 3910 with 99% confidence.
Word: 'Navy.' at 4090 with 98% confidence.
Word: 'And' at 4390 with 98% confidence.
Word: 'he' at 5080 with 100% confidence.
...
And that is it! You've successfully uploaded and transcribed a file using the AssemblyAI API.
Next steps
This example uses AssemblyAI's default speech recognition model, which provides excellent accuracy for general use cases. For even better performance, consider exploring:
- Universal: Our speech recognition model designed for production-ready transcription with multi-language support,
- Slam-1: Speech Language Model that combines LLM architecture with ASR encoders for superior speech-to-text transcription.
- Speech understanding models: Add speaker diarization, sentiment analysis, content moderation, and more
- LLM gateway: Apply Large Language Models to your transcripts for summarization and insights
Ready to build speech AI into your C# applications?
Join thousands of developers using AssemblyAI to transcribe audio and video at scale with just a few lines of code.
You can read more about the endpoints used here as well as some of the more advanced features in the AssemblyAI API Docs!
Lorem ipsum dolor sit amet, consectetur adipiscing elit, sed do eiusmod tempor incididunt ut labore et dolore magna aliqua. Ut enim ad minim veniam, quis nostrud exercitation ullamco laboris nisi ut aliquip ex ea commodo consequat. Duis aute irure dolor in reprehenderit in voluptate velit esse cillum dolore eu fugiat nulla pariatur.

